

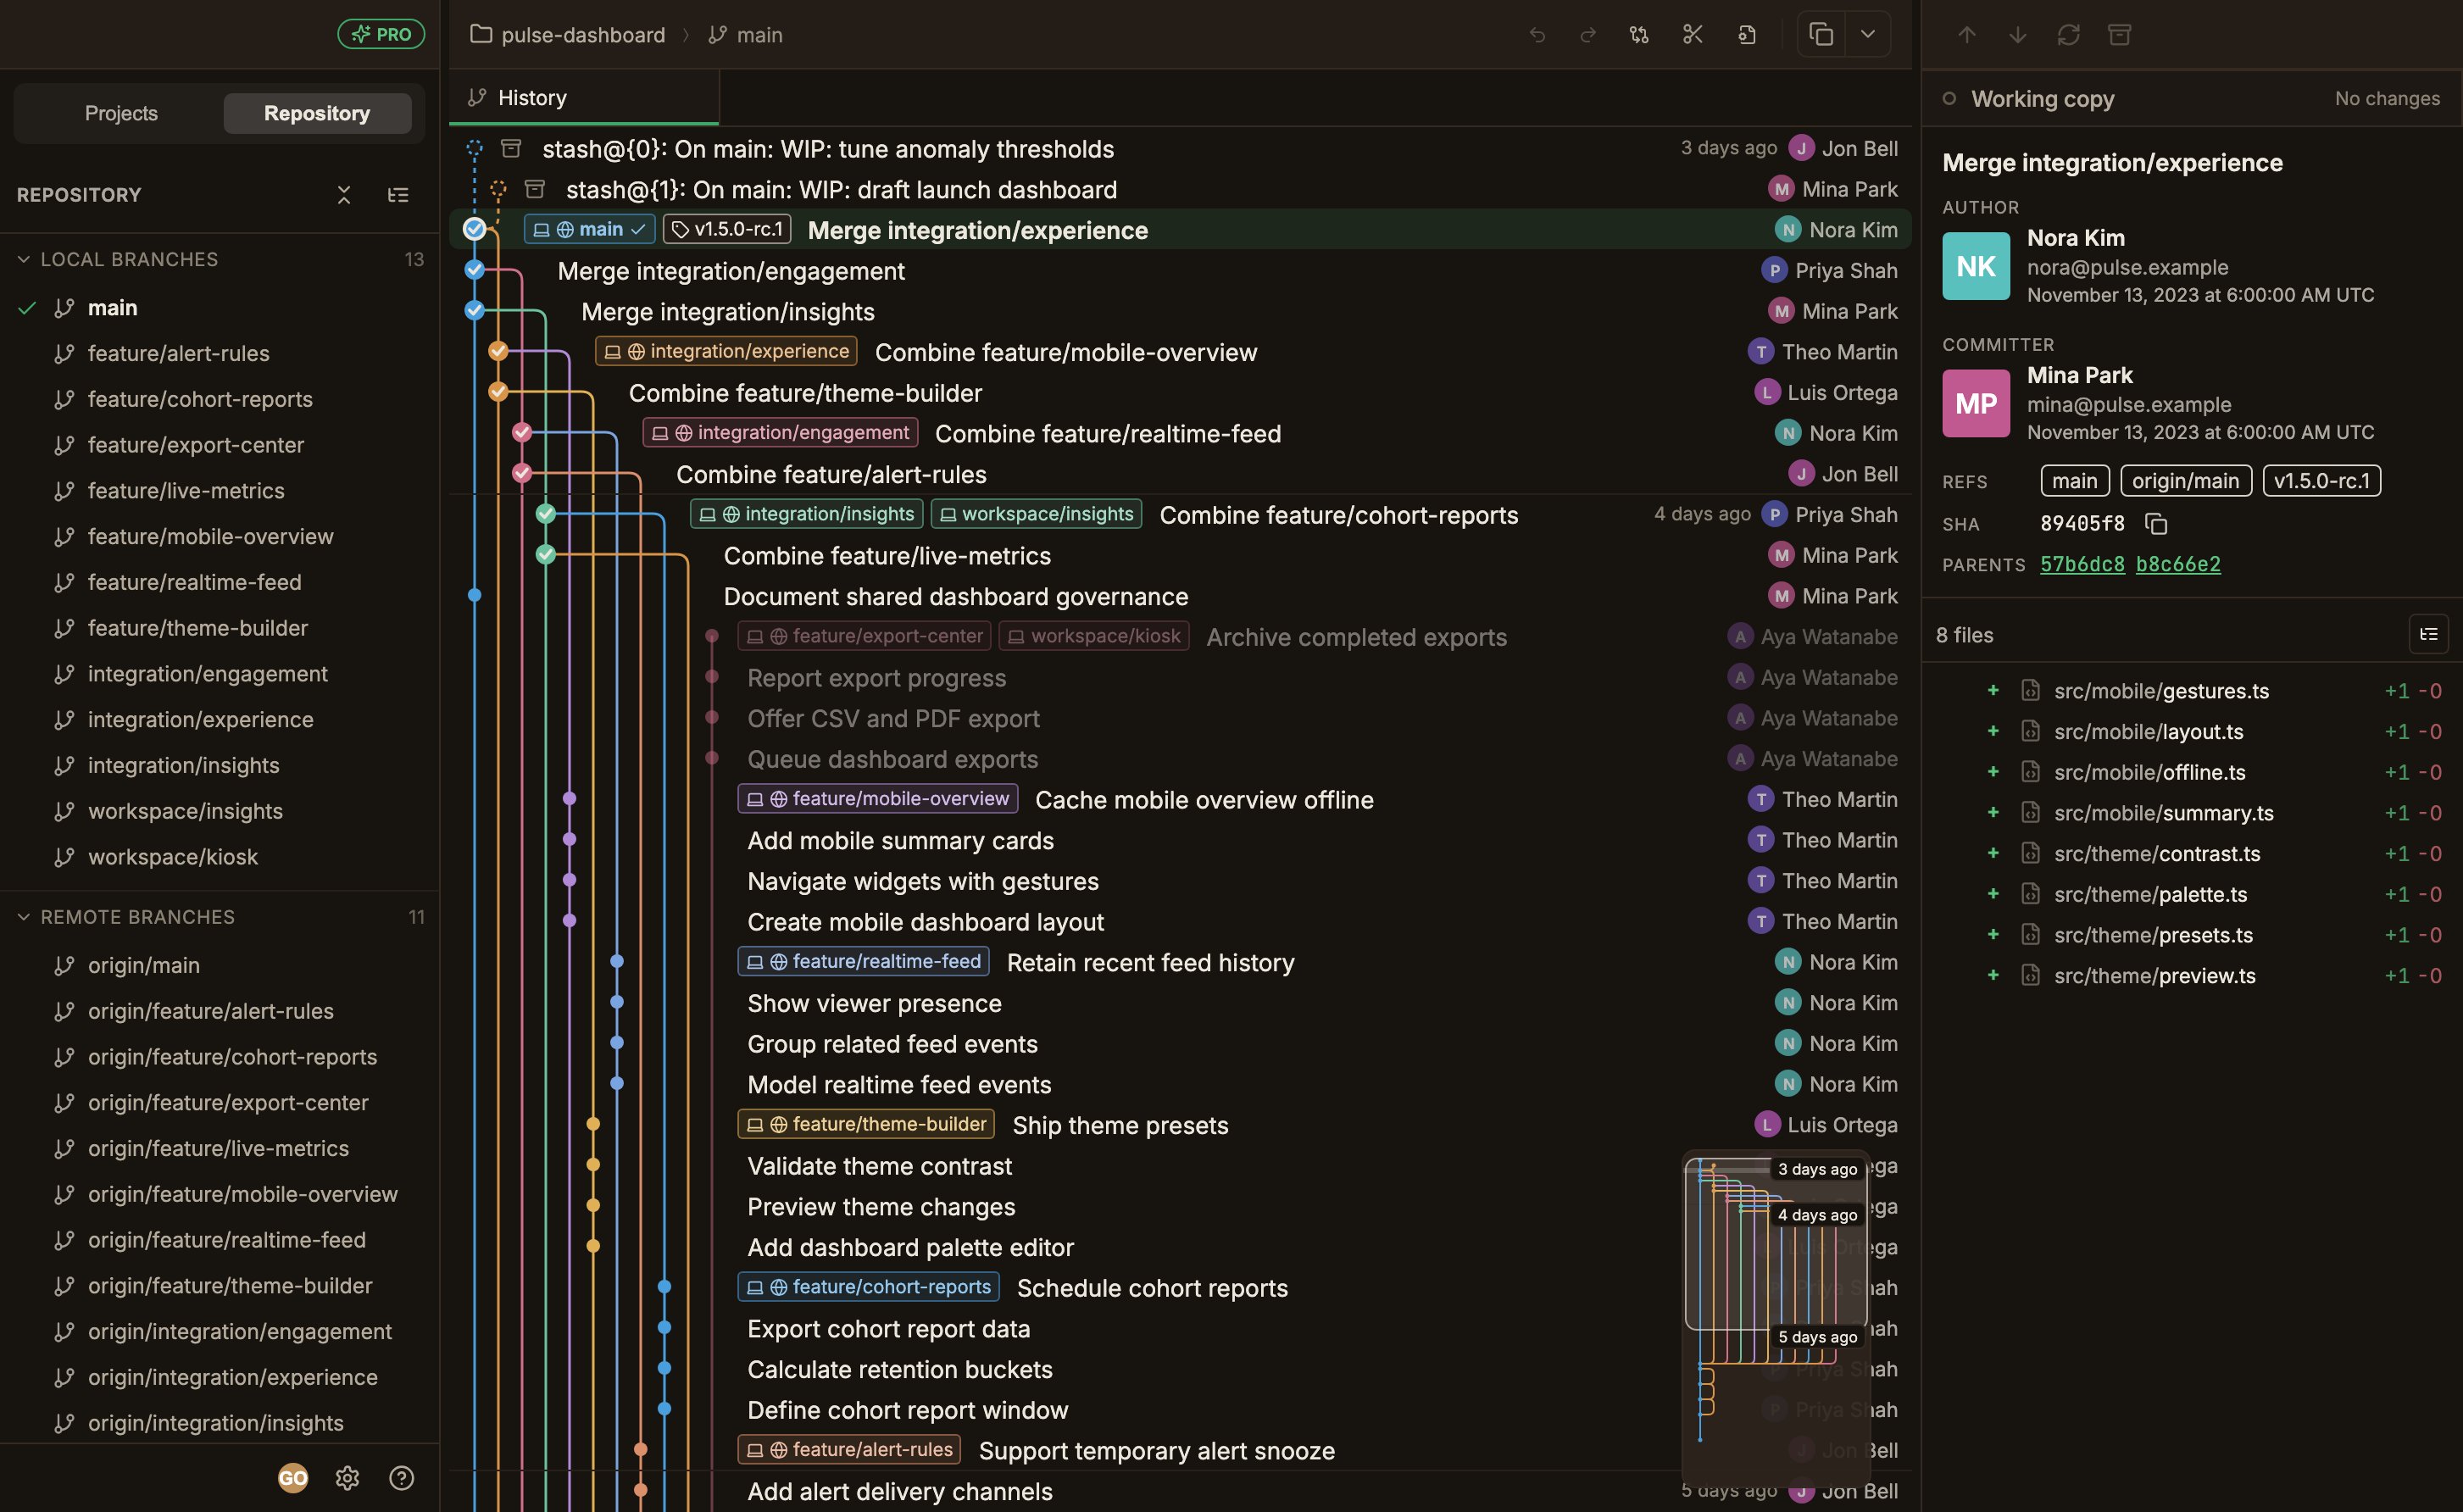
Title bar
The headers of the 3 areas sit side by side in one row. You can drag an empty area of it to move the window, or double-click to maximize. When you’re signed in on a Pro plan, a PRO badge sits at the right end of the left header.Left sidebar
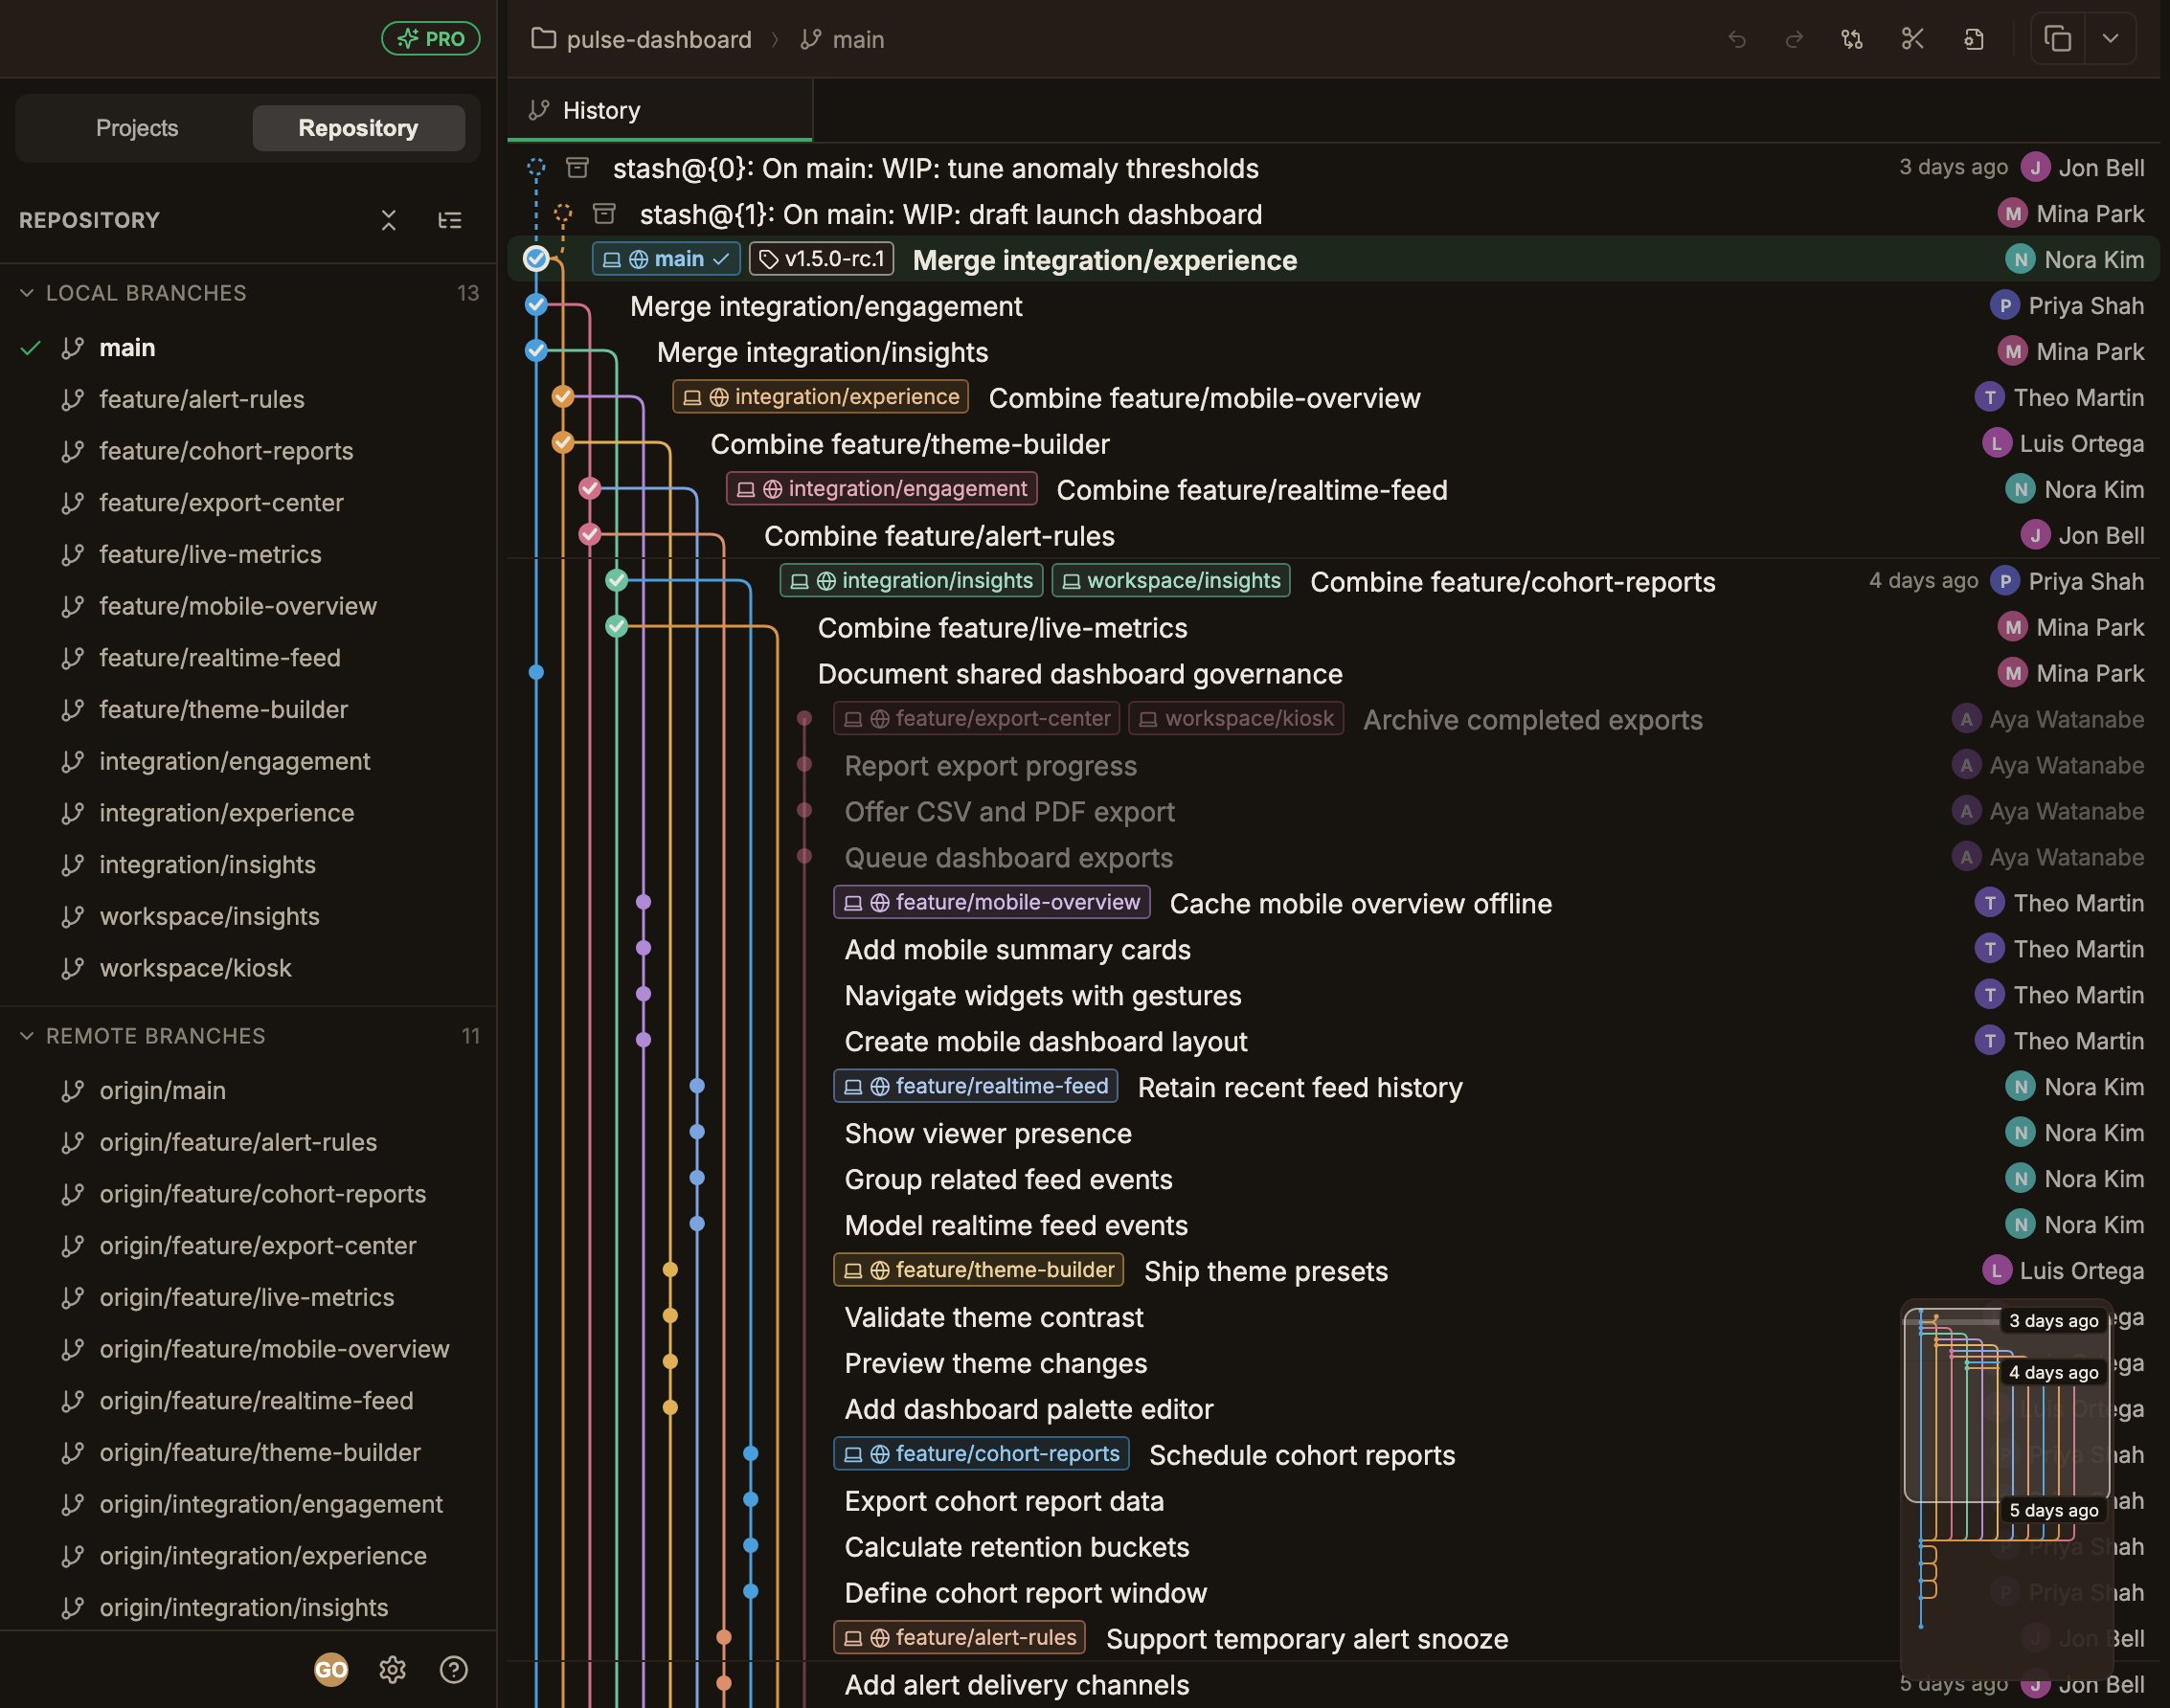
2 tabs at the top switch between views. At the bottom are the Account settings, Help, and Open settings buttons.- Projects
- Repository
Registered repositories are listed, and expanding one reveals its worktrees.
Select a worktree and the graph in the center redraws.
You can organize repositories into groups.The right edge of the row shows the ahead/behind count against the remote, and hovering over a linked worktree shows a Delete worktree button in the same spot.
Repositories and submodules tracked with Git LFS get an LFS badge.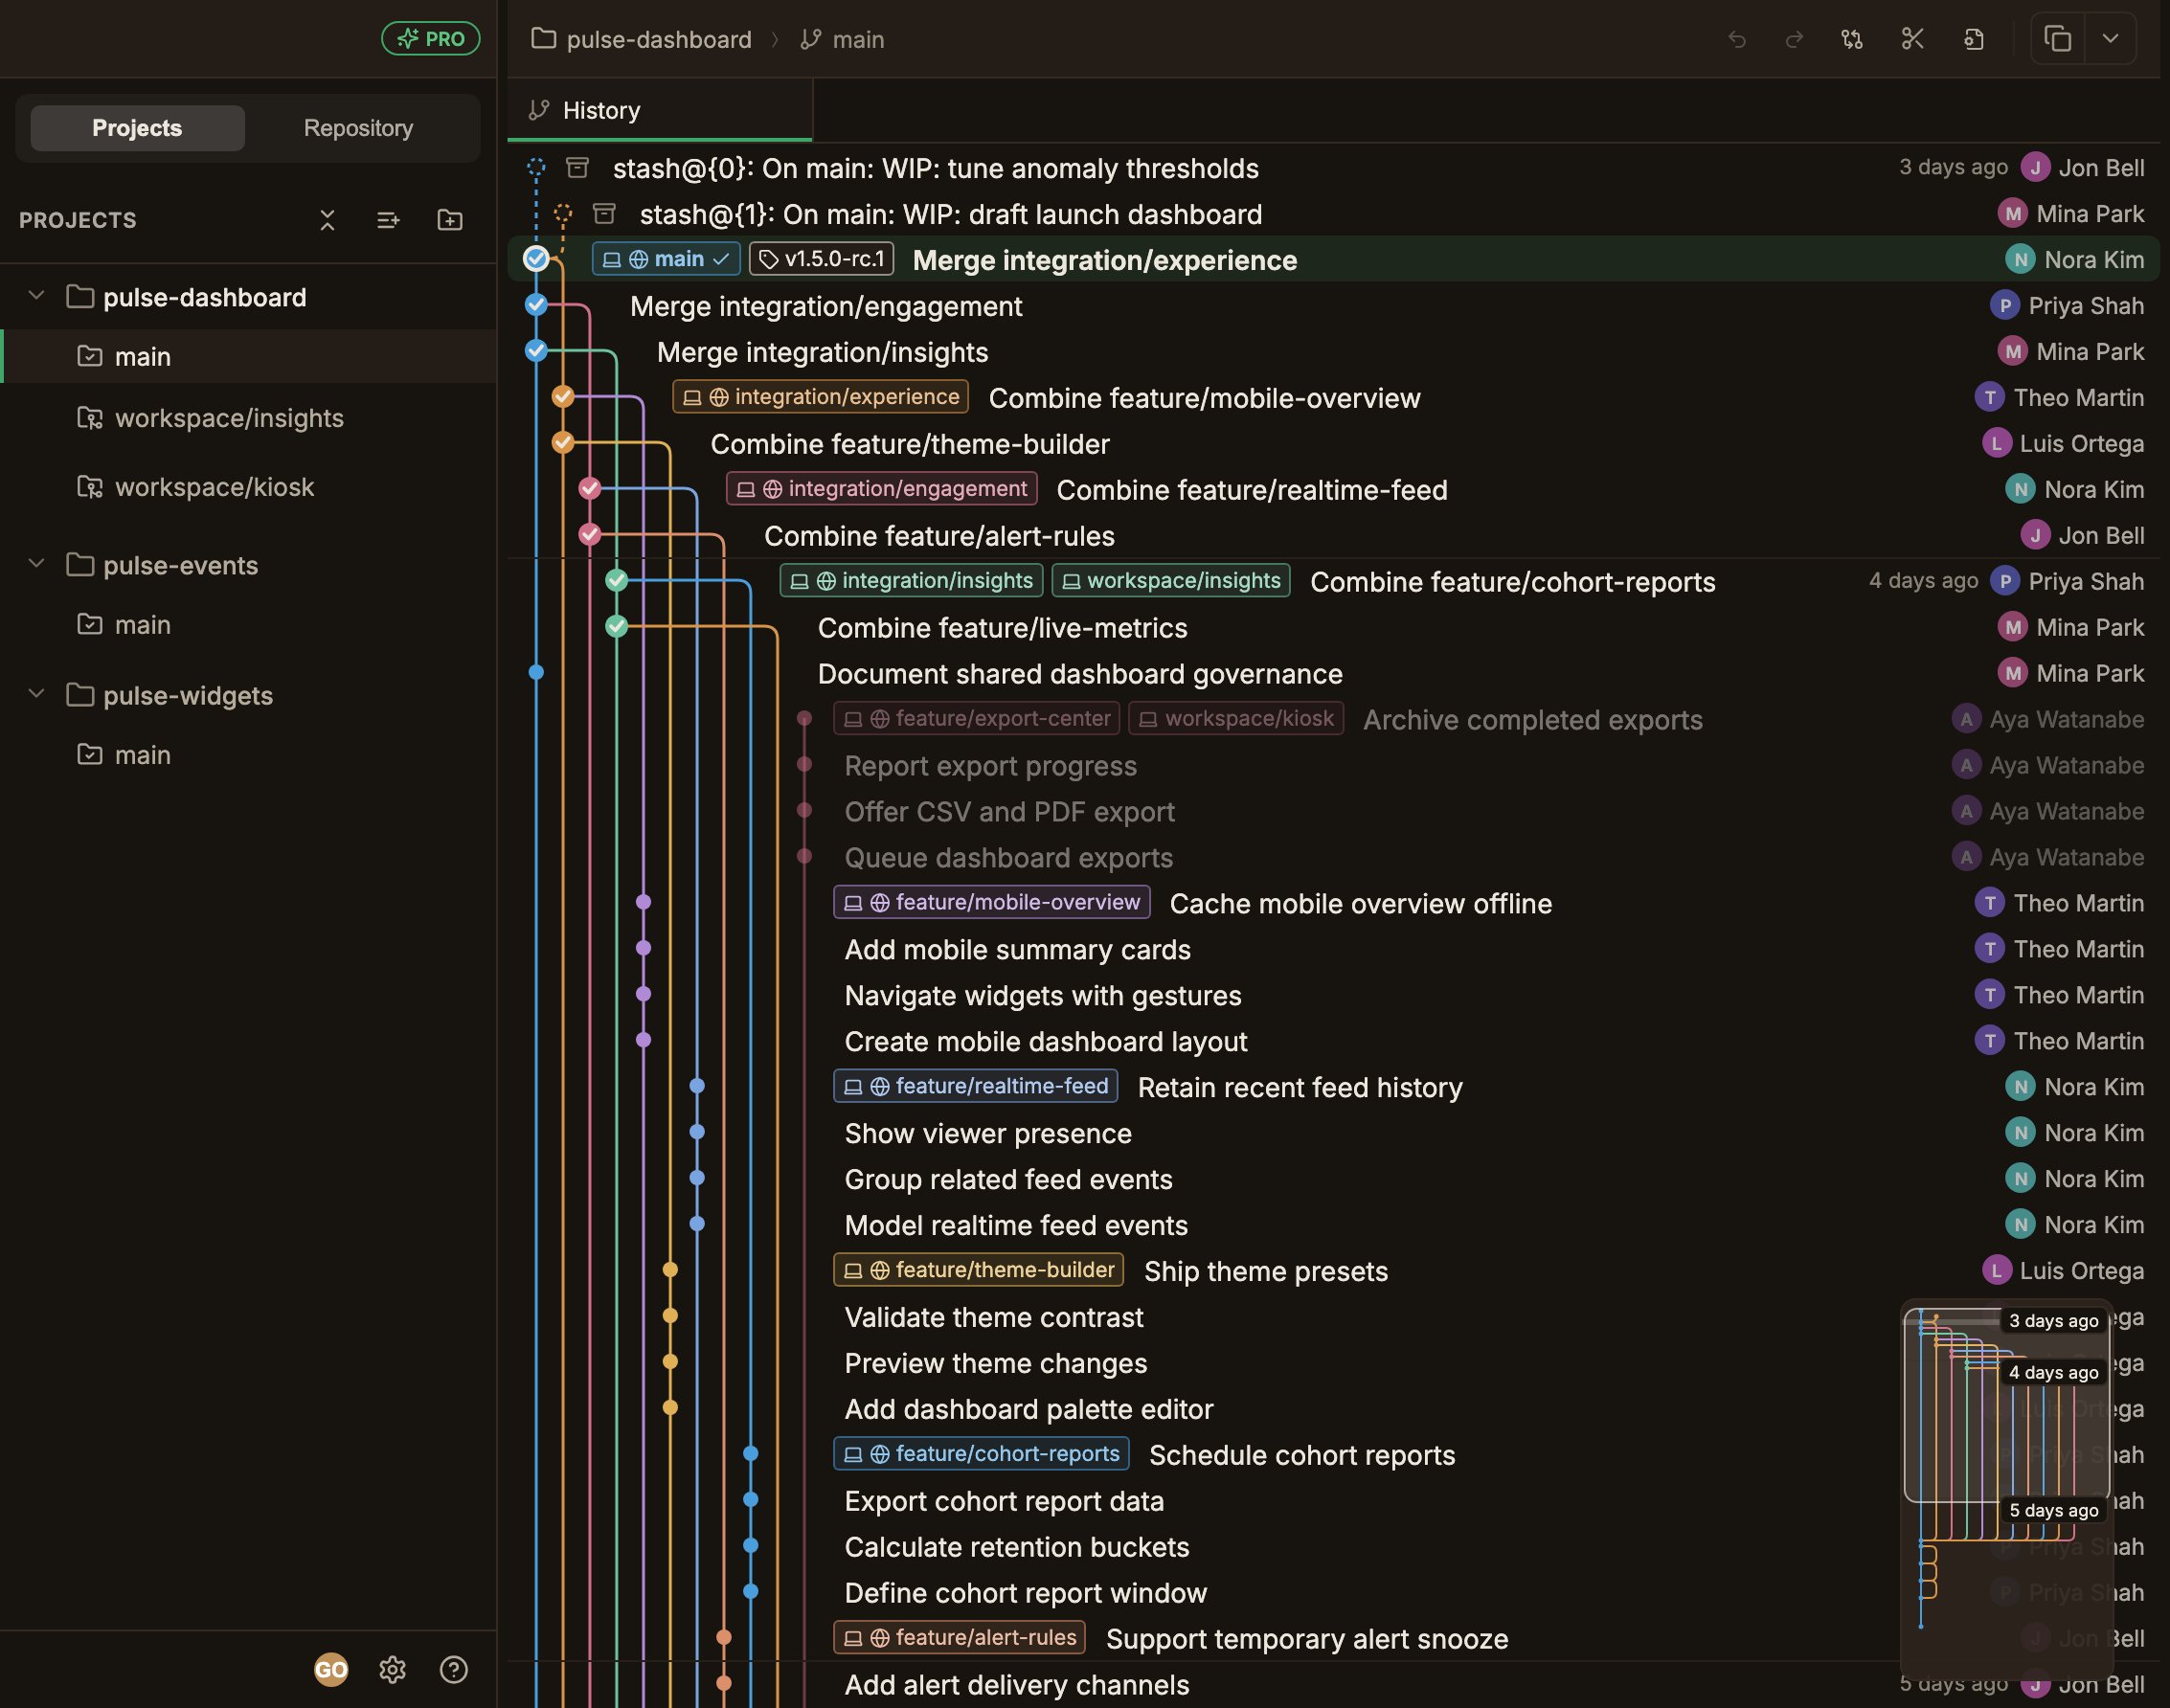
Top bar
On the left, the current location is shown as Repository ⟩ Worktree ⟩ Branch (the Worktree segment is omitted in the main worktree, and a short SHA appears there if HEAD is detached). On the right are buttons for the current tab. The History tab shows Undo / Redo, Compare, and Edit .gitignore by default, with up to 2 more added depending on conditions.- Show all branches / Show current branch only appears only for linked worktrees.
- Cleanup appears only in the main worktree. It’s a menu for deleting several branches at once, holding Clean up merged branches and, for repositories with a remote, Clean up branches deleted on remote. Cleaning up branches covers it in detail.
Look for the Push, Pull, Fetch, and Stash buttons in the right sidebar header.
For github.com repositories, a Create pull request button follows them.
Open in…
The button at the far right of the top bar opens the selected worktree’s folder in another tool. Click the arrow beside it and the menu opens.- Default entries are built-in destinations such as Finder and Terminal. You can’t delete them, but you can hide them in Settings.
- Added apps are apps registered in Settings, listed below.
- Open in browser opens the remote repository’s page in your browser.
- Copy path copies the worktree folder’s path.
Center: the graph and tabs
- In the Tab bar, the first History tab is the commit graph and is always pinned. Diffs, comparisons, and file history each open as a new tab on the right, and you can drag to reorder them. A tab is labeled with the file name alone. Hover it and the full repository-relative path appears as a tooltip.
- Commit graph splits commits into a lane per branch and draws them in time order. The layout streams in piece by piece. Even large repositories are ready to explore starting with the first piece. Click a commit and its details appear on the right.
The tab menu
Right-click a tab and a menu opens with the path entries at the top, above the close entries.- Copy relative path copies the path from the repository root, the same form Git itself prints.
- Copy absolute path copies the repository-relative path joined onto the worktree folder, so you can paste it straight into a terminal or Finder.
.gitignore edit tab), and the History tab has no menu at all.
Choosing one closes the menu. The confirmation comes as a notification carrying the path that was copied.
Right sidebar
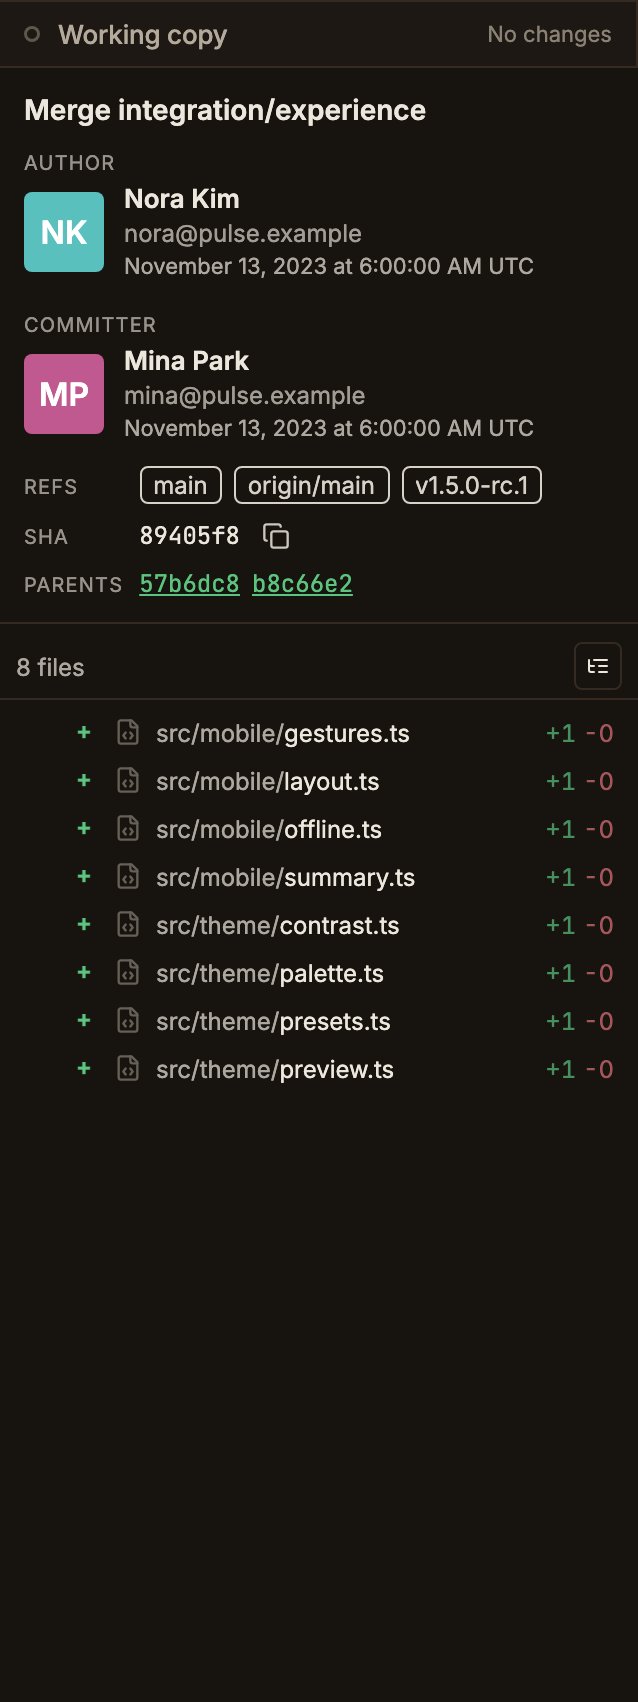
Its content changes based on what you select.- The Working copy card at the top is always present, shows the number of changes and whether there’s a conflict, and opens the Working copy panel when clicked.
- Select a commit and its metadata appears at the top, with the list of changed files below. Click a file and a diff tab opens in the center.
- Drag the divider to resize the top and bottom panes.
Context menus
Most repositories, worktrees, branches, tags, stashes, and commits have a right-click menu, and the whole app follows the same rules.- Groups separated by dividers are ordered from safest at the top to most dangerous at the bottom, and a group with no items disappears along with its divider.
- Red marks only irreversible actions. Deletes, removals, and resets that can lose uncommitted work or refs fall under this, and are grouped together in the last group. Revert, amend, squash, and rebase are not highlighted, and items that are disabled because conditions aren’t met appear grayed out.
- A trailing
…on the name opens a dialog first, for entering a name or choosing an option. It’s not added to confirmation dialogs or submenus.
Help menu
Click the question-mark button at the bottom of the left sidebar and the menu opens upward.- Developer docs opens this documentation site in your browser.
- Check for updates checks for a new version right away.
- Send feedback opens the feedback dialog.
Sending feedback
Pick a Type (Bug, Feature request, and Other), fill in Title and Details, then click Send.Only your app version, OS, and plan are attached.
Repository details such as paths and branch names, and your Git account information, are never sent.