

Updating and initializing submodules
It checks out the commit the parent repository points to. Initialization (--init) always runs alongside it. Submodules that haven’t been initialized yet are handled in the same pass.
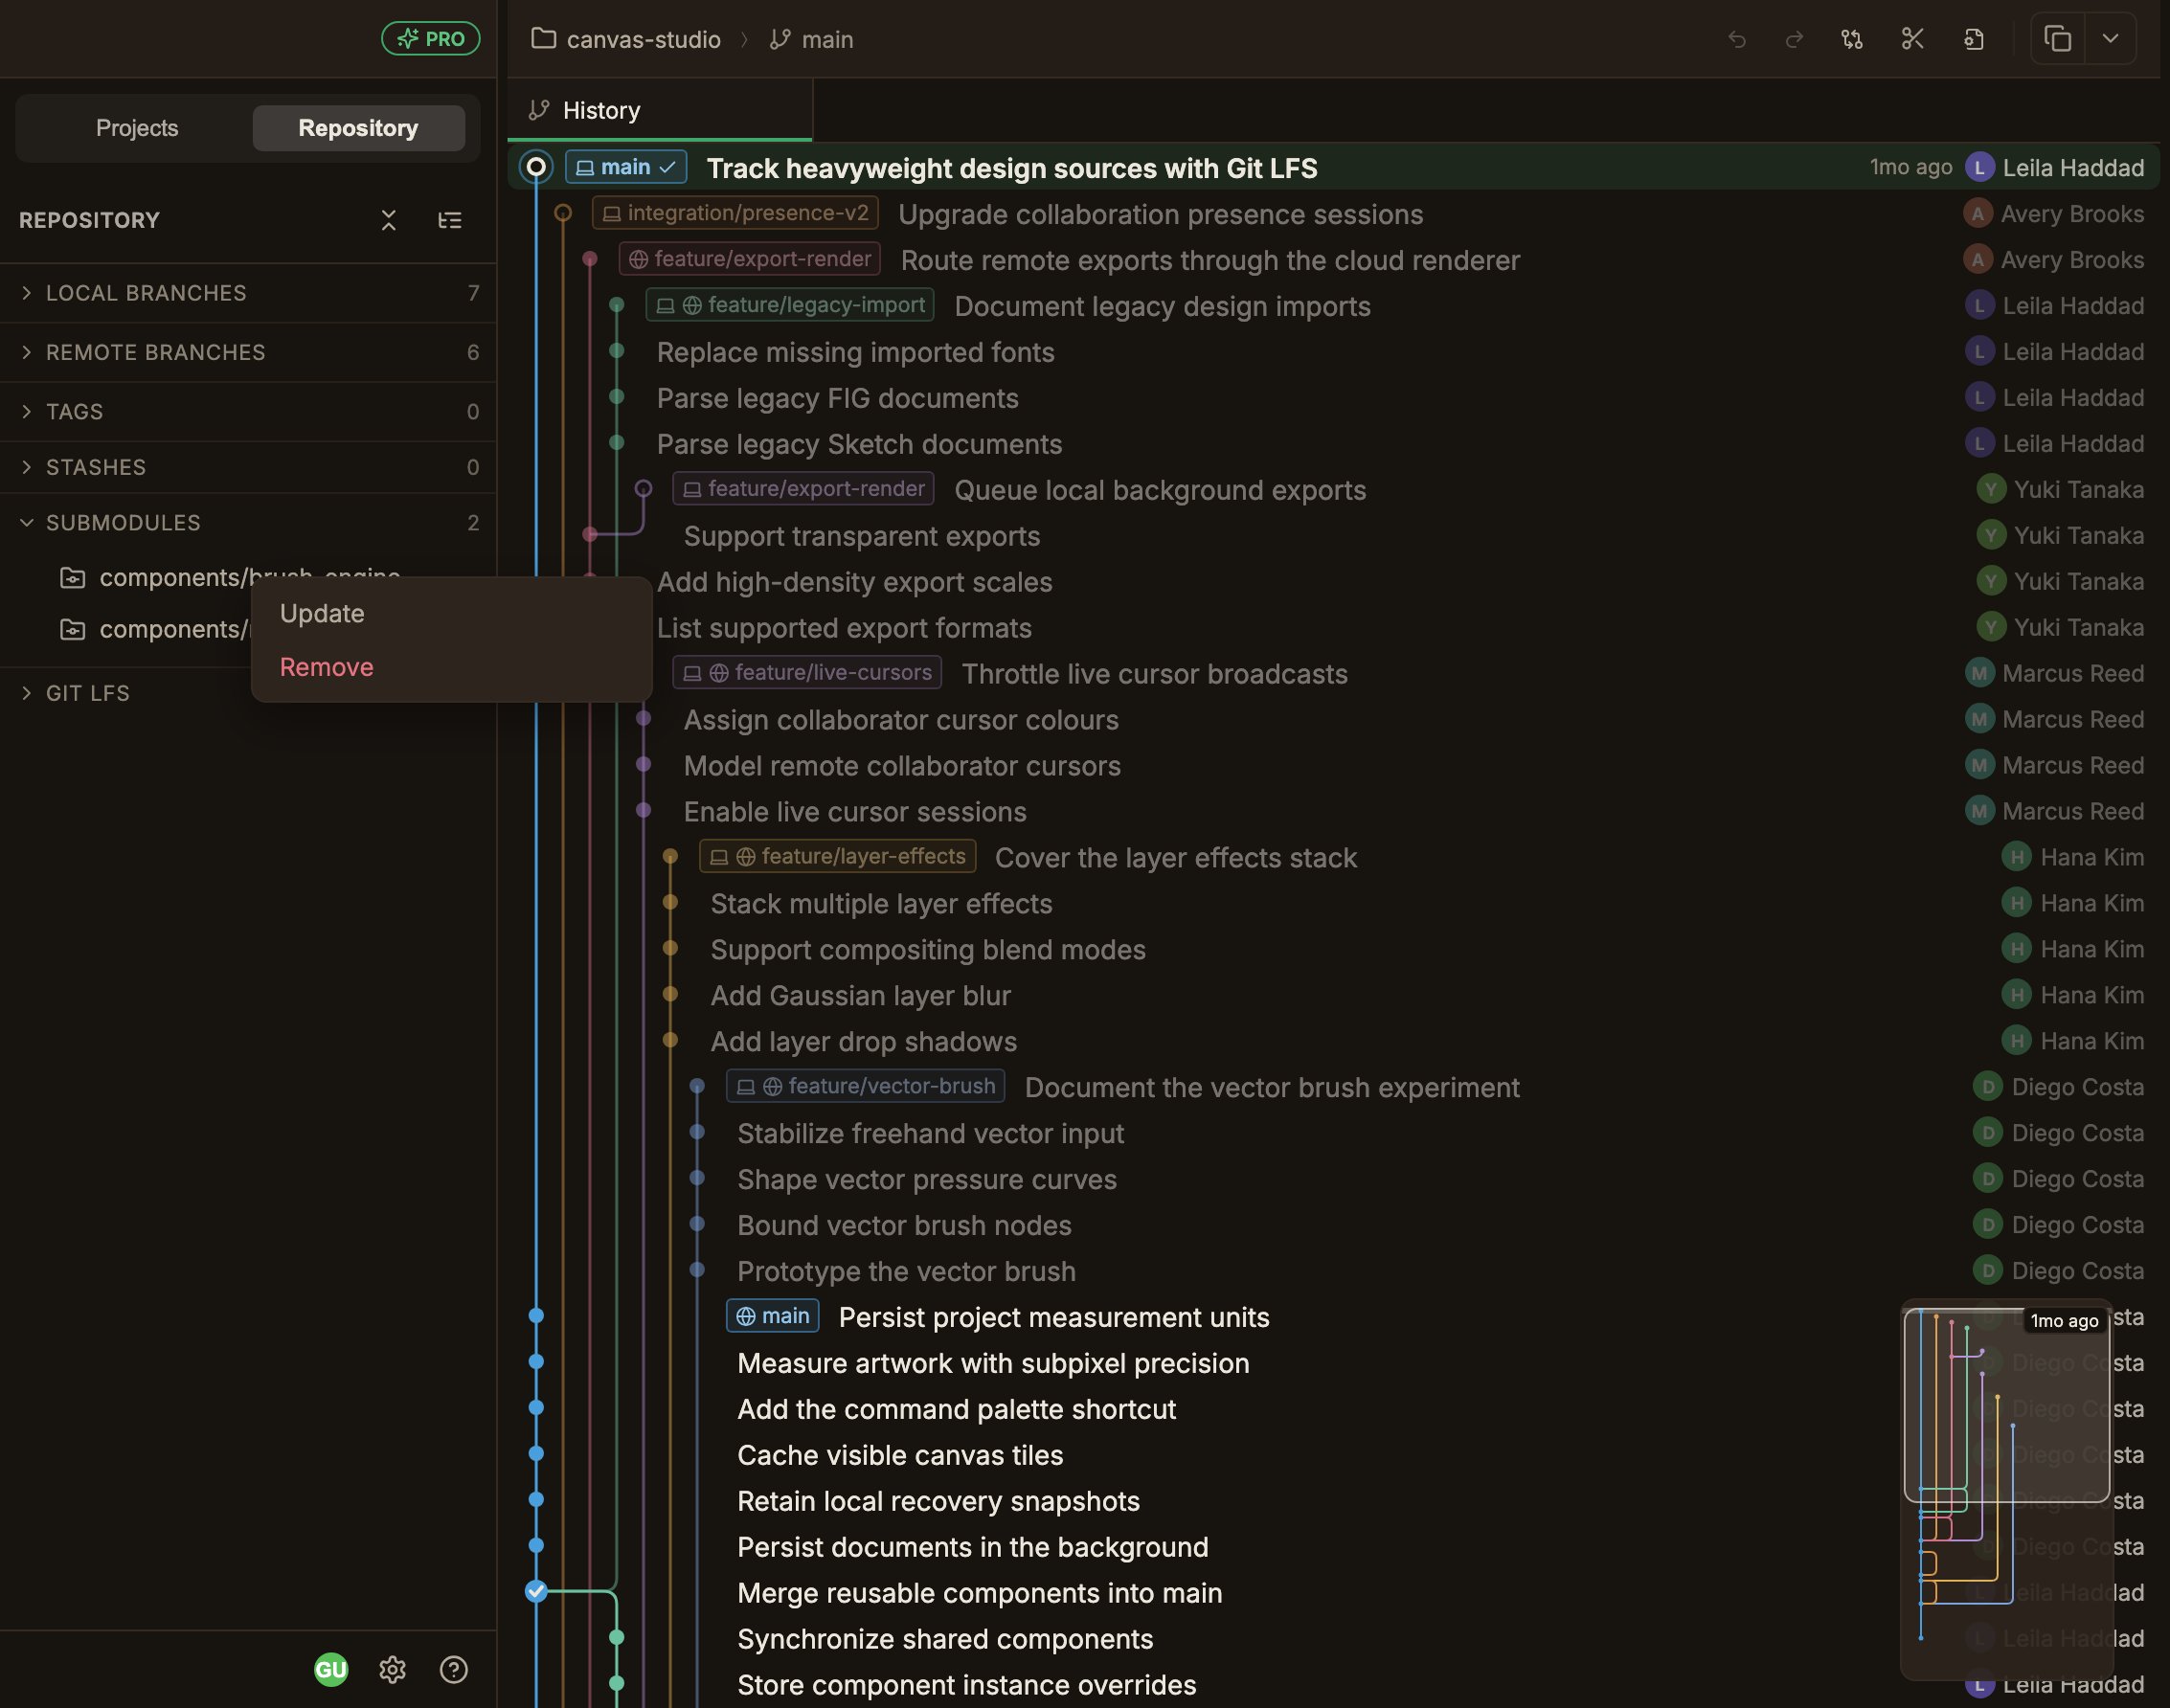
- For Individual update, right-click a submodule entry and choose Update.
- For Update all, click the refresh button in the section header (Update all submodules).
Only this one runs with
--recursive, so nested submodules are updated too.
Opening one as a child repository
Double-click a submodule entry in the Repository tab (after auto-initializing it if needed) and a child-repository row appears under the parent repository in the Projects sidebar, and it is selected automatically. From then on, the graph, Working copy, and fetch/pull all operate on this submodule. If a submodule is tracked with Git LFS, its row also shows the LFS badge. See Git LFS.Adding and removing submodules
- Add
- Remove
Click the Add submodule (
+) button in the section header, fill in Repository URL (required), Path (required, relative to the parent), and Branch (optional), and click Add.”Removing it from the sidebar” and “removing it from Git” are different things.
The hover X only removes the sidebar entry, while Remove in the right-click menu actually removes it from Git.