

Creating a worktree
This creates a new branch from the repository’s default branch, and a folder with that branch checked out, in one step.1
Click the + button
Hover over a repository row in the sidebar and click the 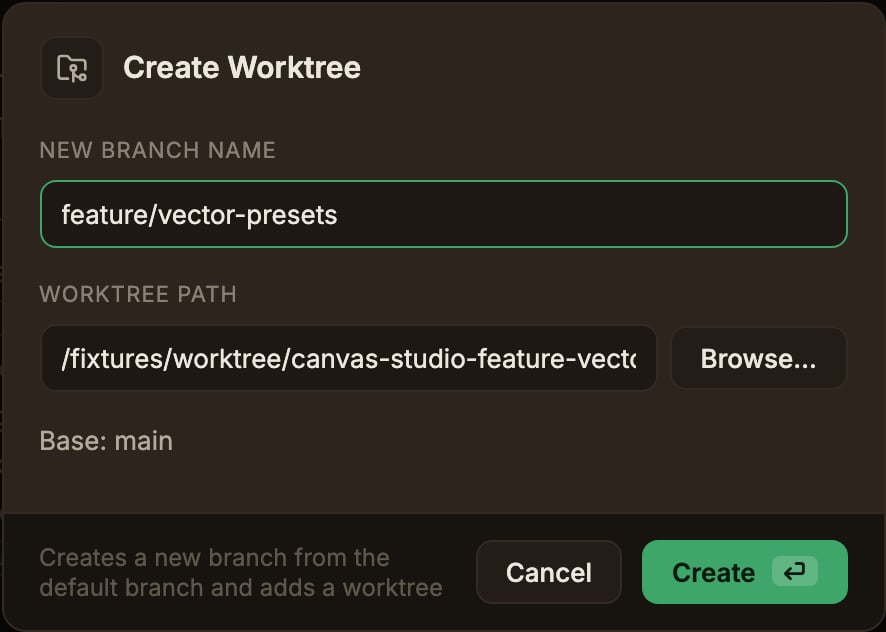
+ button (Add worktree) that appears.2
Enter the new branch name
Enter the name of the branch you want to create.
The dialog shows the base branch below, as
Base: main; the base resolves in the order origin/HEAD → local main → local master.3
Check the worktree path
The path is auto-suggested in the form
<repo-parent>/<repo-name>-<branch>, and any / in the branch name is replaced with -.
Until you edit it directly, it updates to follow the branch name, and you can change the parent folder with Browse….4
Create
Click Create and the new worktree is created and automatically selected.
Switching worktrees
Click a worktree row in the sidebar to switch to it. When you actually switch to a different worktree, every open diff tab closes and the view resets to a single History tab.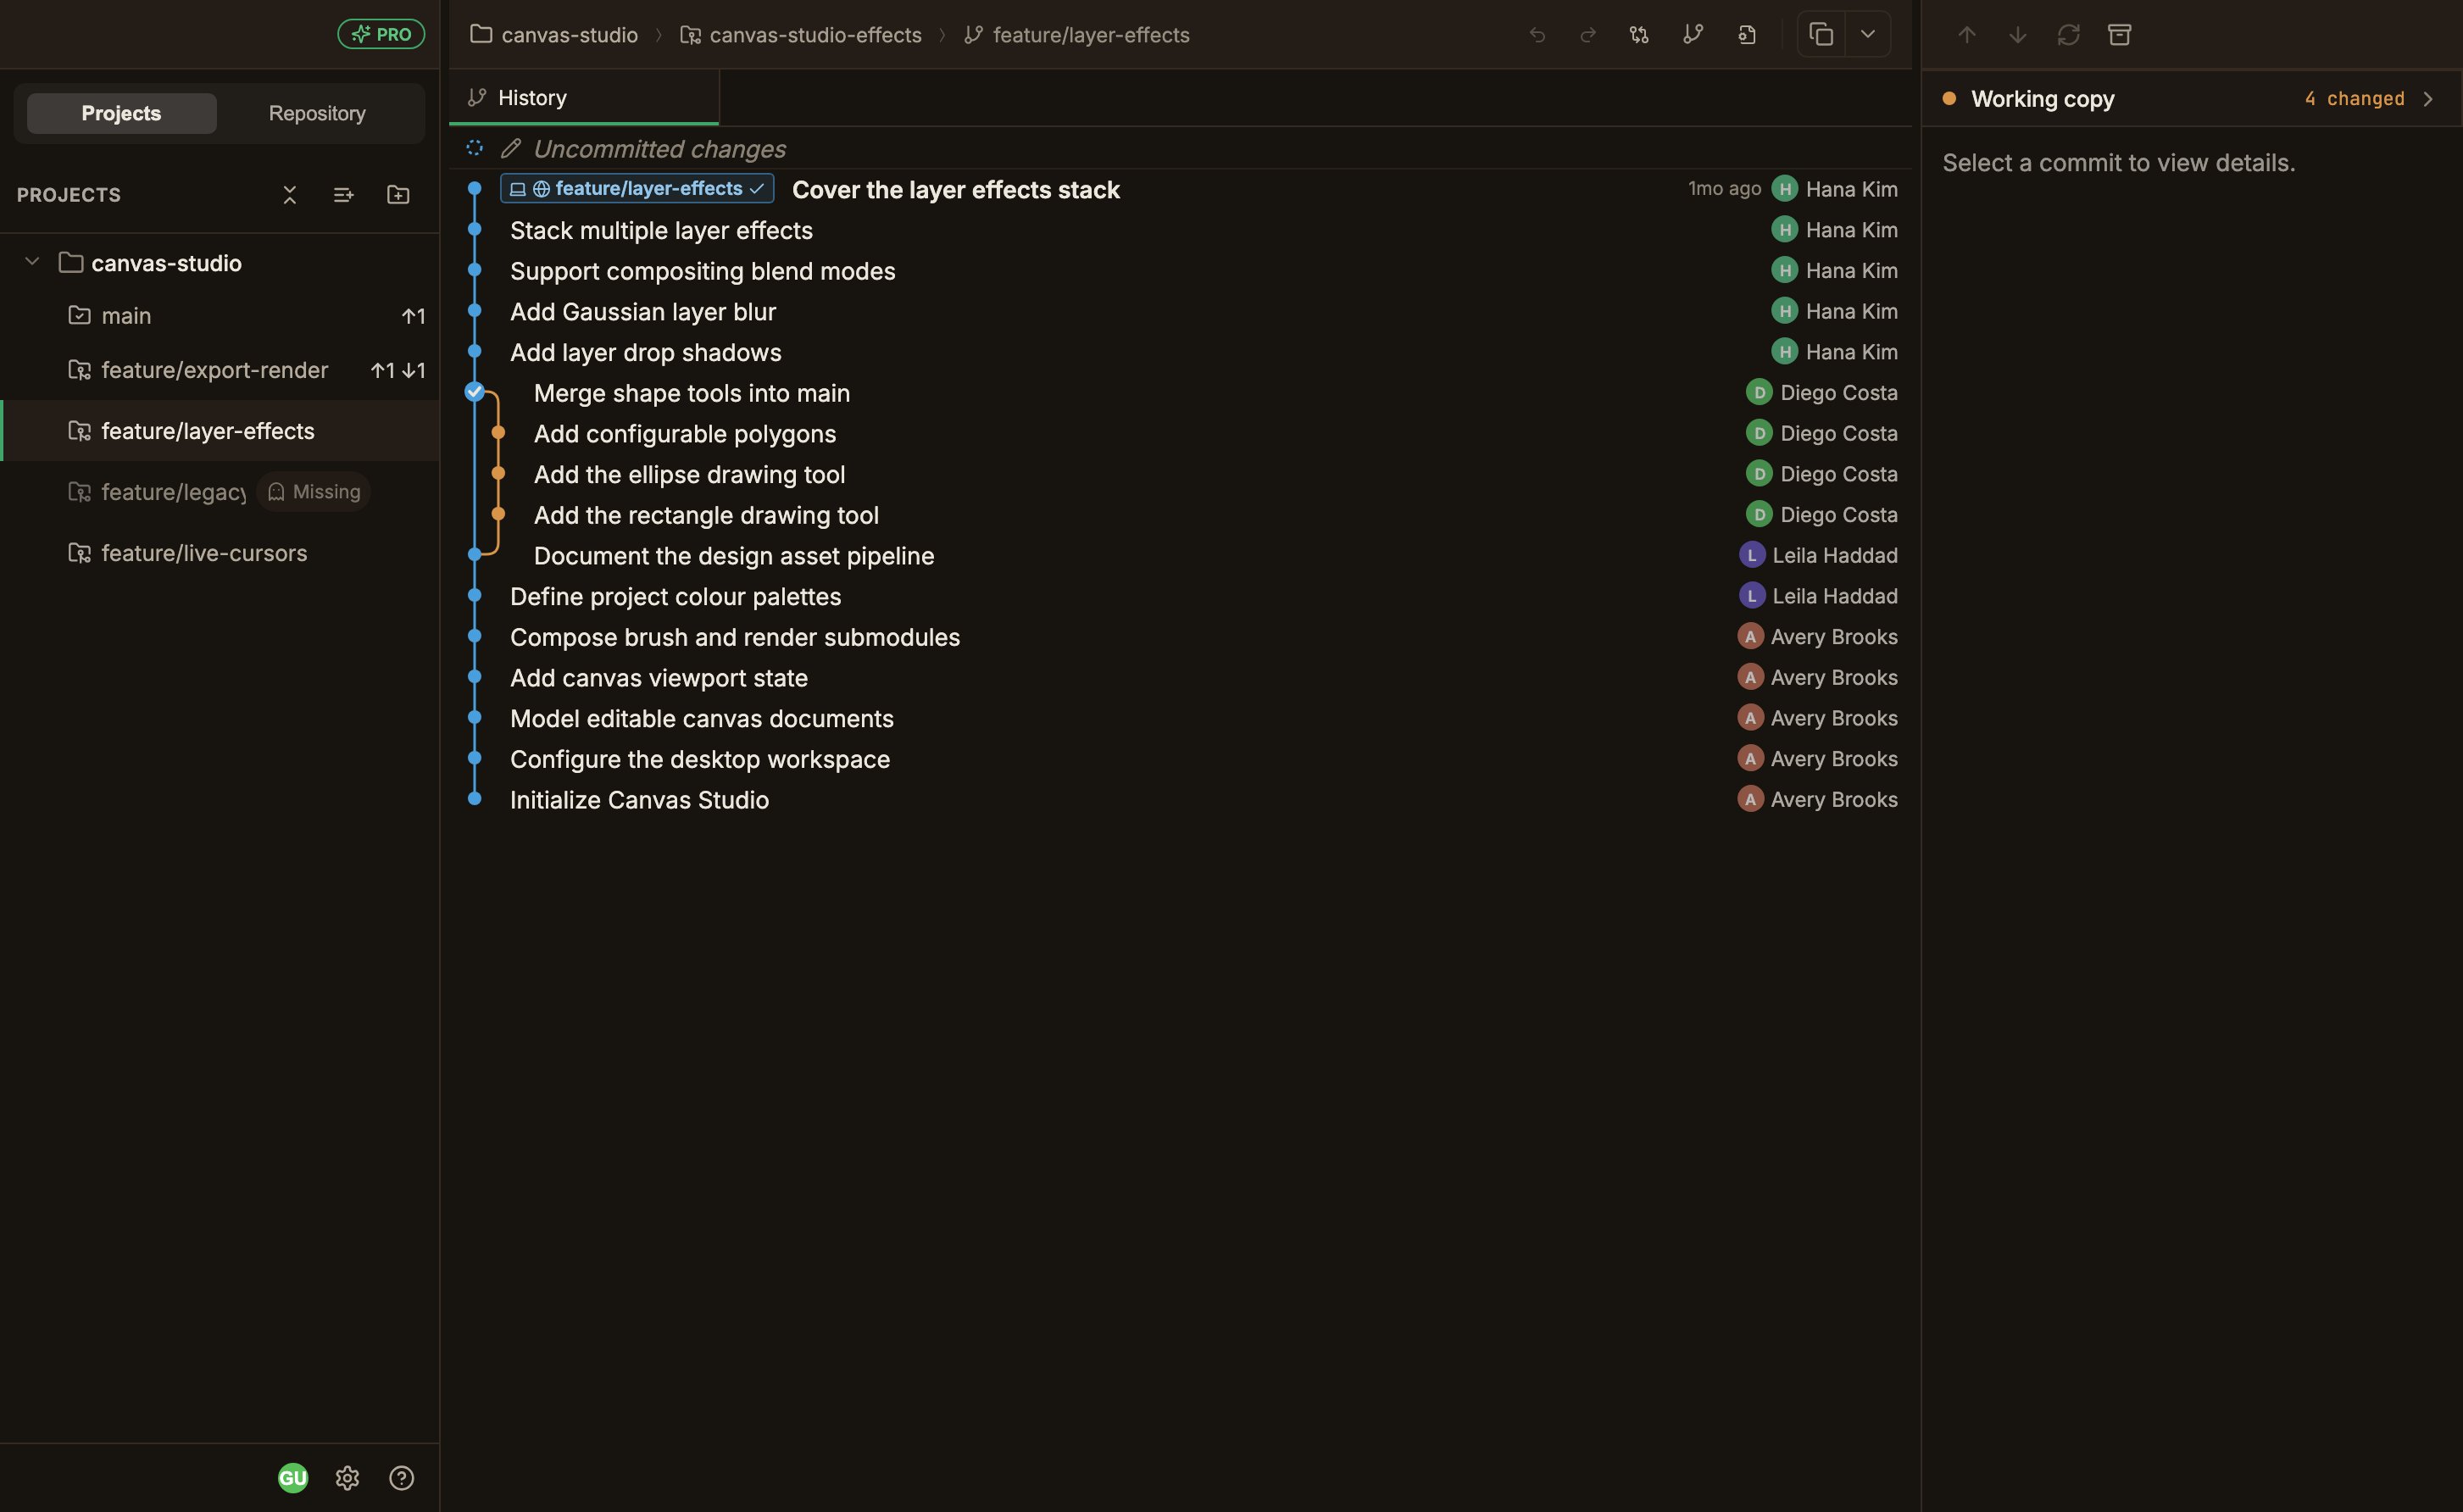
Deleting a worktree
1
Reveal the delete button
Hover over a linked worktree row and a trash icon appears where the ahead/behind counter normally sits.
2
Review the options
The dialog has two toggles (both off by default).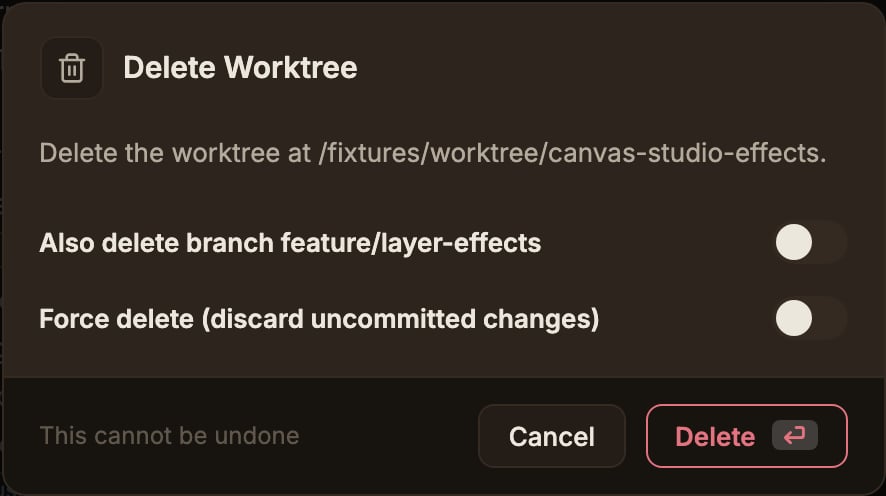
- Also delete branch also deletes the branch that was checked out. If Force delete is off, deletion is refused for a branch that hasn’t been merged. It doesn’t appear for a detached HEAD worktree.
- Force delete also removes a worktree that has uncommitted changes. With Also delete branch turned on as well, the label becomes Force delete (discard uncommitted changes, and the branch even if unmerged), and an unmerged branch is deleted too.
3
Confirm the deletion
Click Delete.
If the deleted worktree was selected, the selection moves to the main worktree.
If the worktree is deleted but only the branch deletion fails, a warning toast reports the partial failure.
When a locked worktree refuses to delete
When deletion fails, the risk escalates one step at a time.- It fails with Force delete off, and the failure toast has no action button. It reports the cause (uncommitted changes or a lock), and to move on you have to reopen the dialog and turn on Force delete yourself.
- Force delete is blocked by a lock, and only now does the toast show a Delete ignoring lock button. Git’s original error message includes the lock reason, so you can see who locked it. If the failure isn’t due to a lock, the button doesn’t appear.
- Ignoring the lock also fails, and no retry button is attached anymore. You have to read the error message and resolve it yourself.