

How the comparison works
The comparison is based on the merge base (common ancestor) of the two targets. Even if base gains new commits, only the changes head added after the branches diverged are shown. The header takes the formbase ← head.
The sidebar dropdowns let you pick from local branches, remote branches, and tags.
To target a specific commit, right-click it in the graph and start a comparison there.
Starting a comparison
1
Choose a comparison entry point
Whichever path you use, a Compare tab opens with base and head already filled in.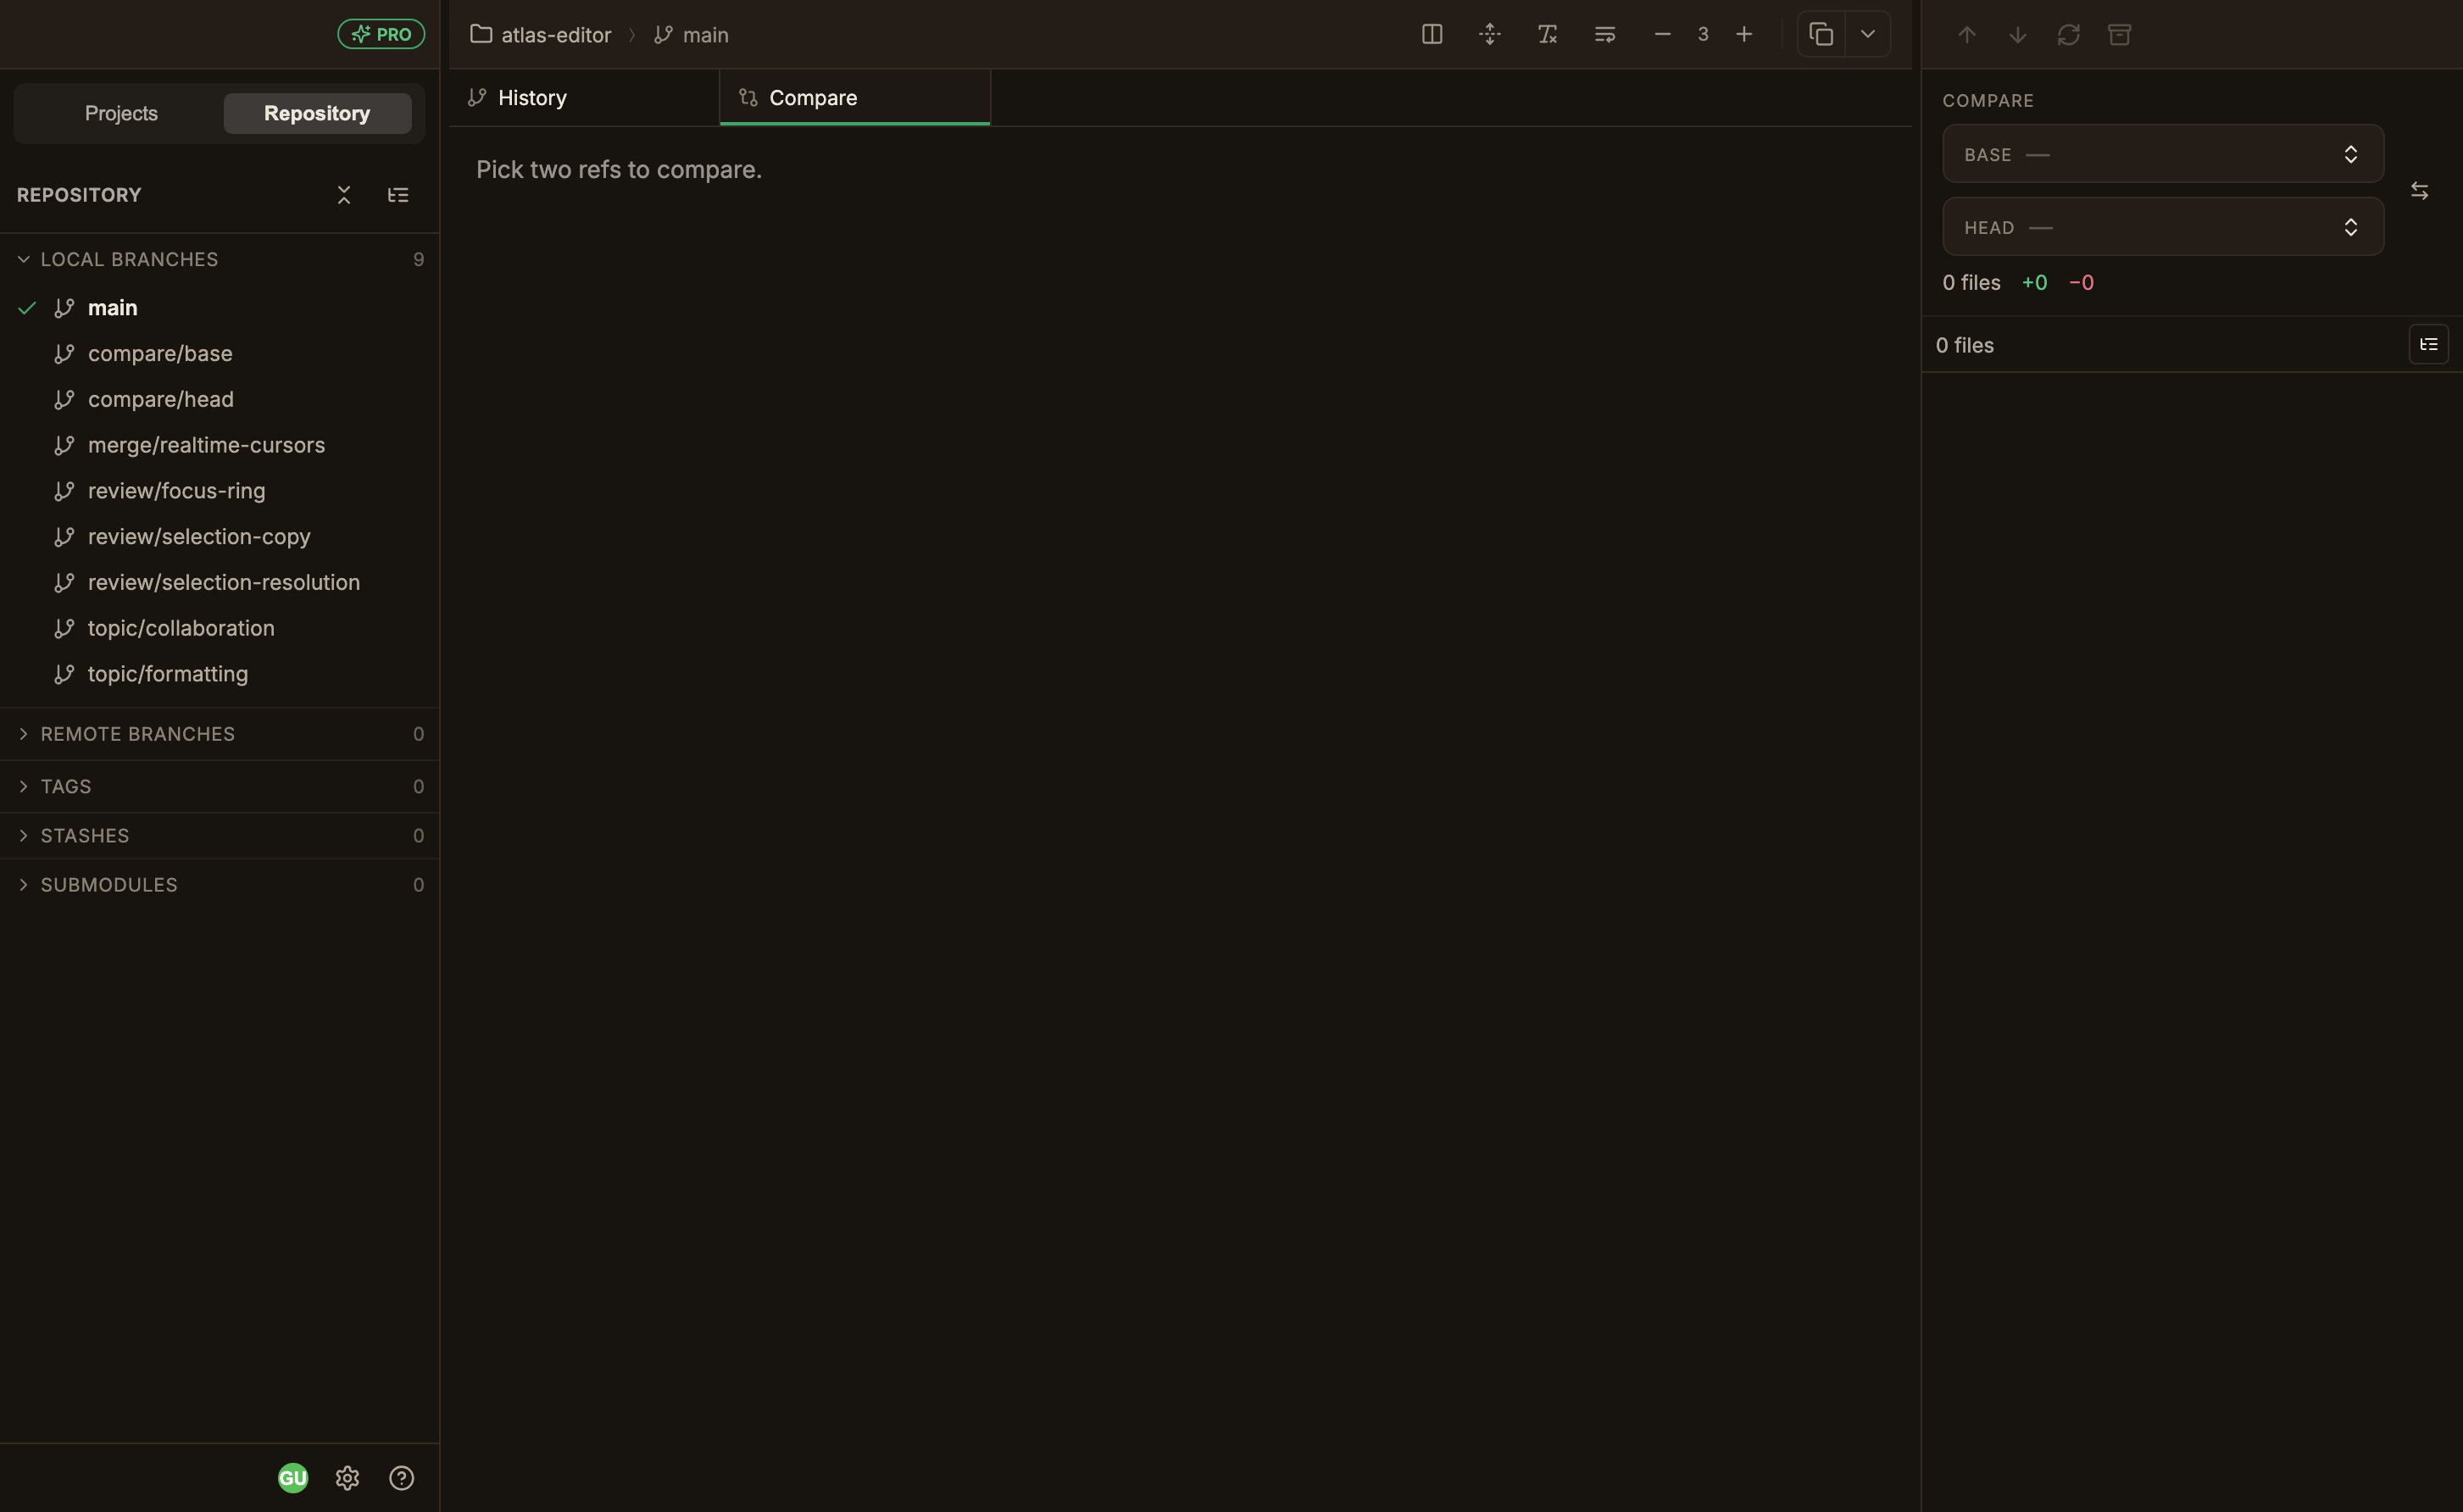
- Right-click a commit in the graph → Compare: the commit becomes base, the current branch becomes head
- A commit’s branch and tag submenu → Compare: that ref becomes base, the current branch becomes head
- The Compare button in the graph tab header: the repository’s default branch becomes base, the current branch becomes head
2
Set base and head
Pick them from the two dropdowns in the right sidebar.
The dropdowns are grouped into Branches / Remotes / Tags, and the Swap base and head button on the right swaps the two.
3
Skim the changed files
The sidebar shows the number of changed files, lines added and removed, the N ahead / N behind summary, and the list of changed files.
4
View a file's diff
The first file is selected automatically, and clicking another file opens its diff.
The usual diff controls, such as switching between split and unified, all work the same here.
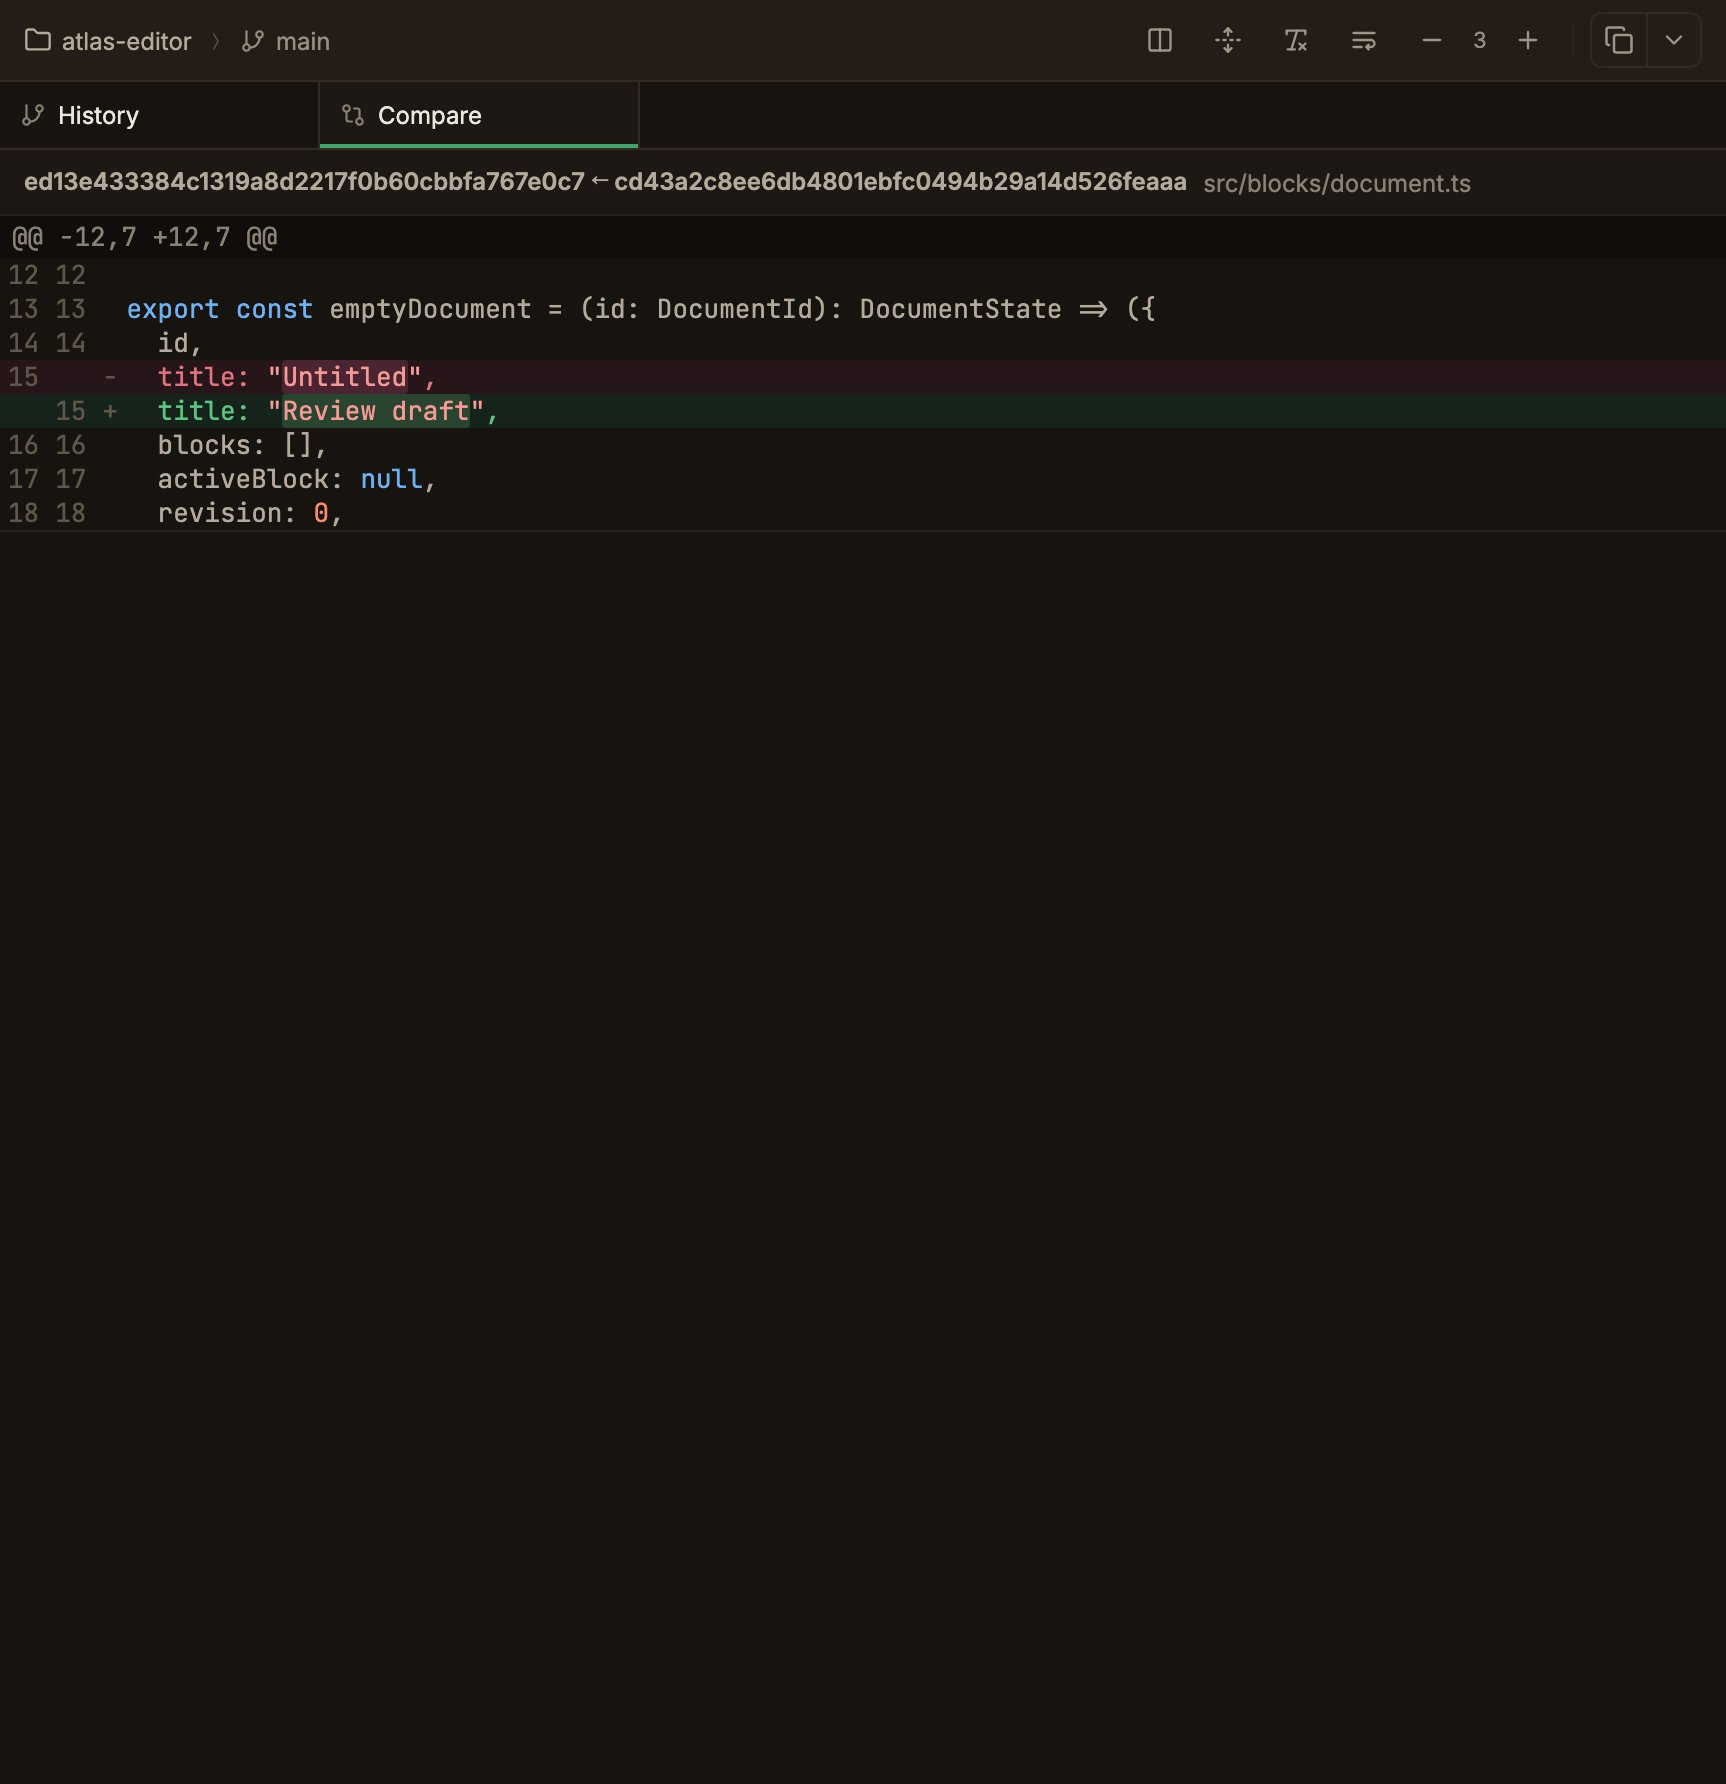
Only one Compare tab is open at a time.
Even when the comparison refreshes automatically after actions like a pull or a checkout, the file you were viewing stays selected if it’s still in the new result, or the selection falls back to the first file if it’s gone.
Image and binary files are handled the same way as in Diff viewer.