

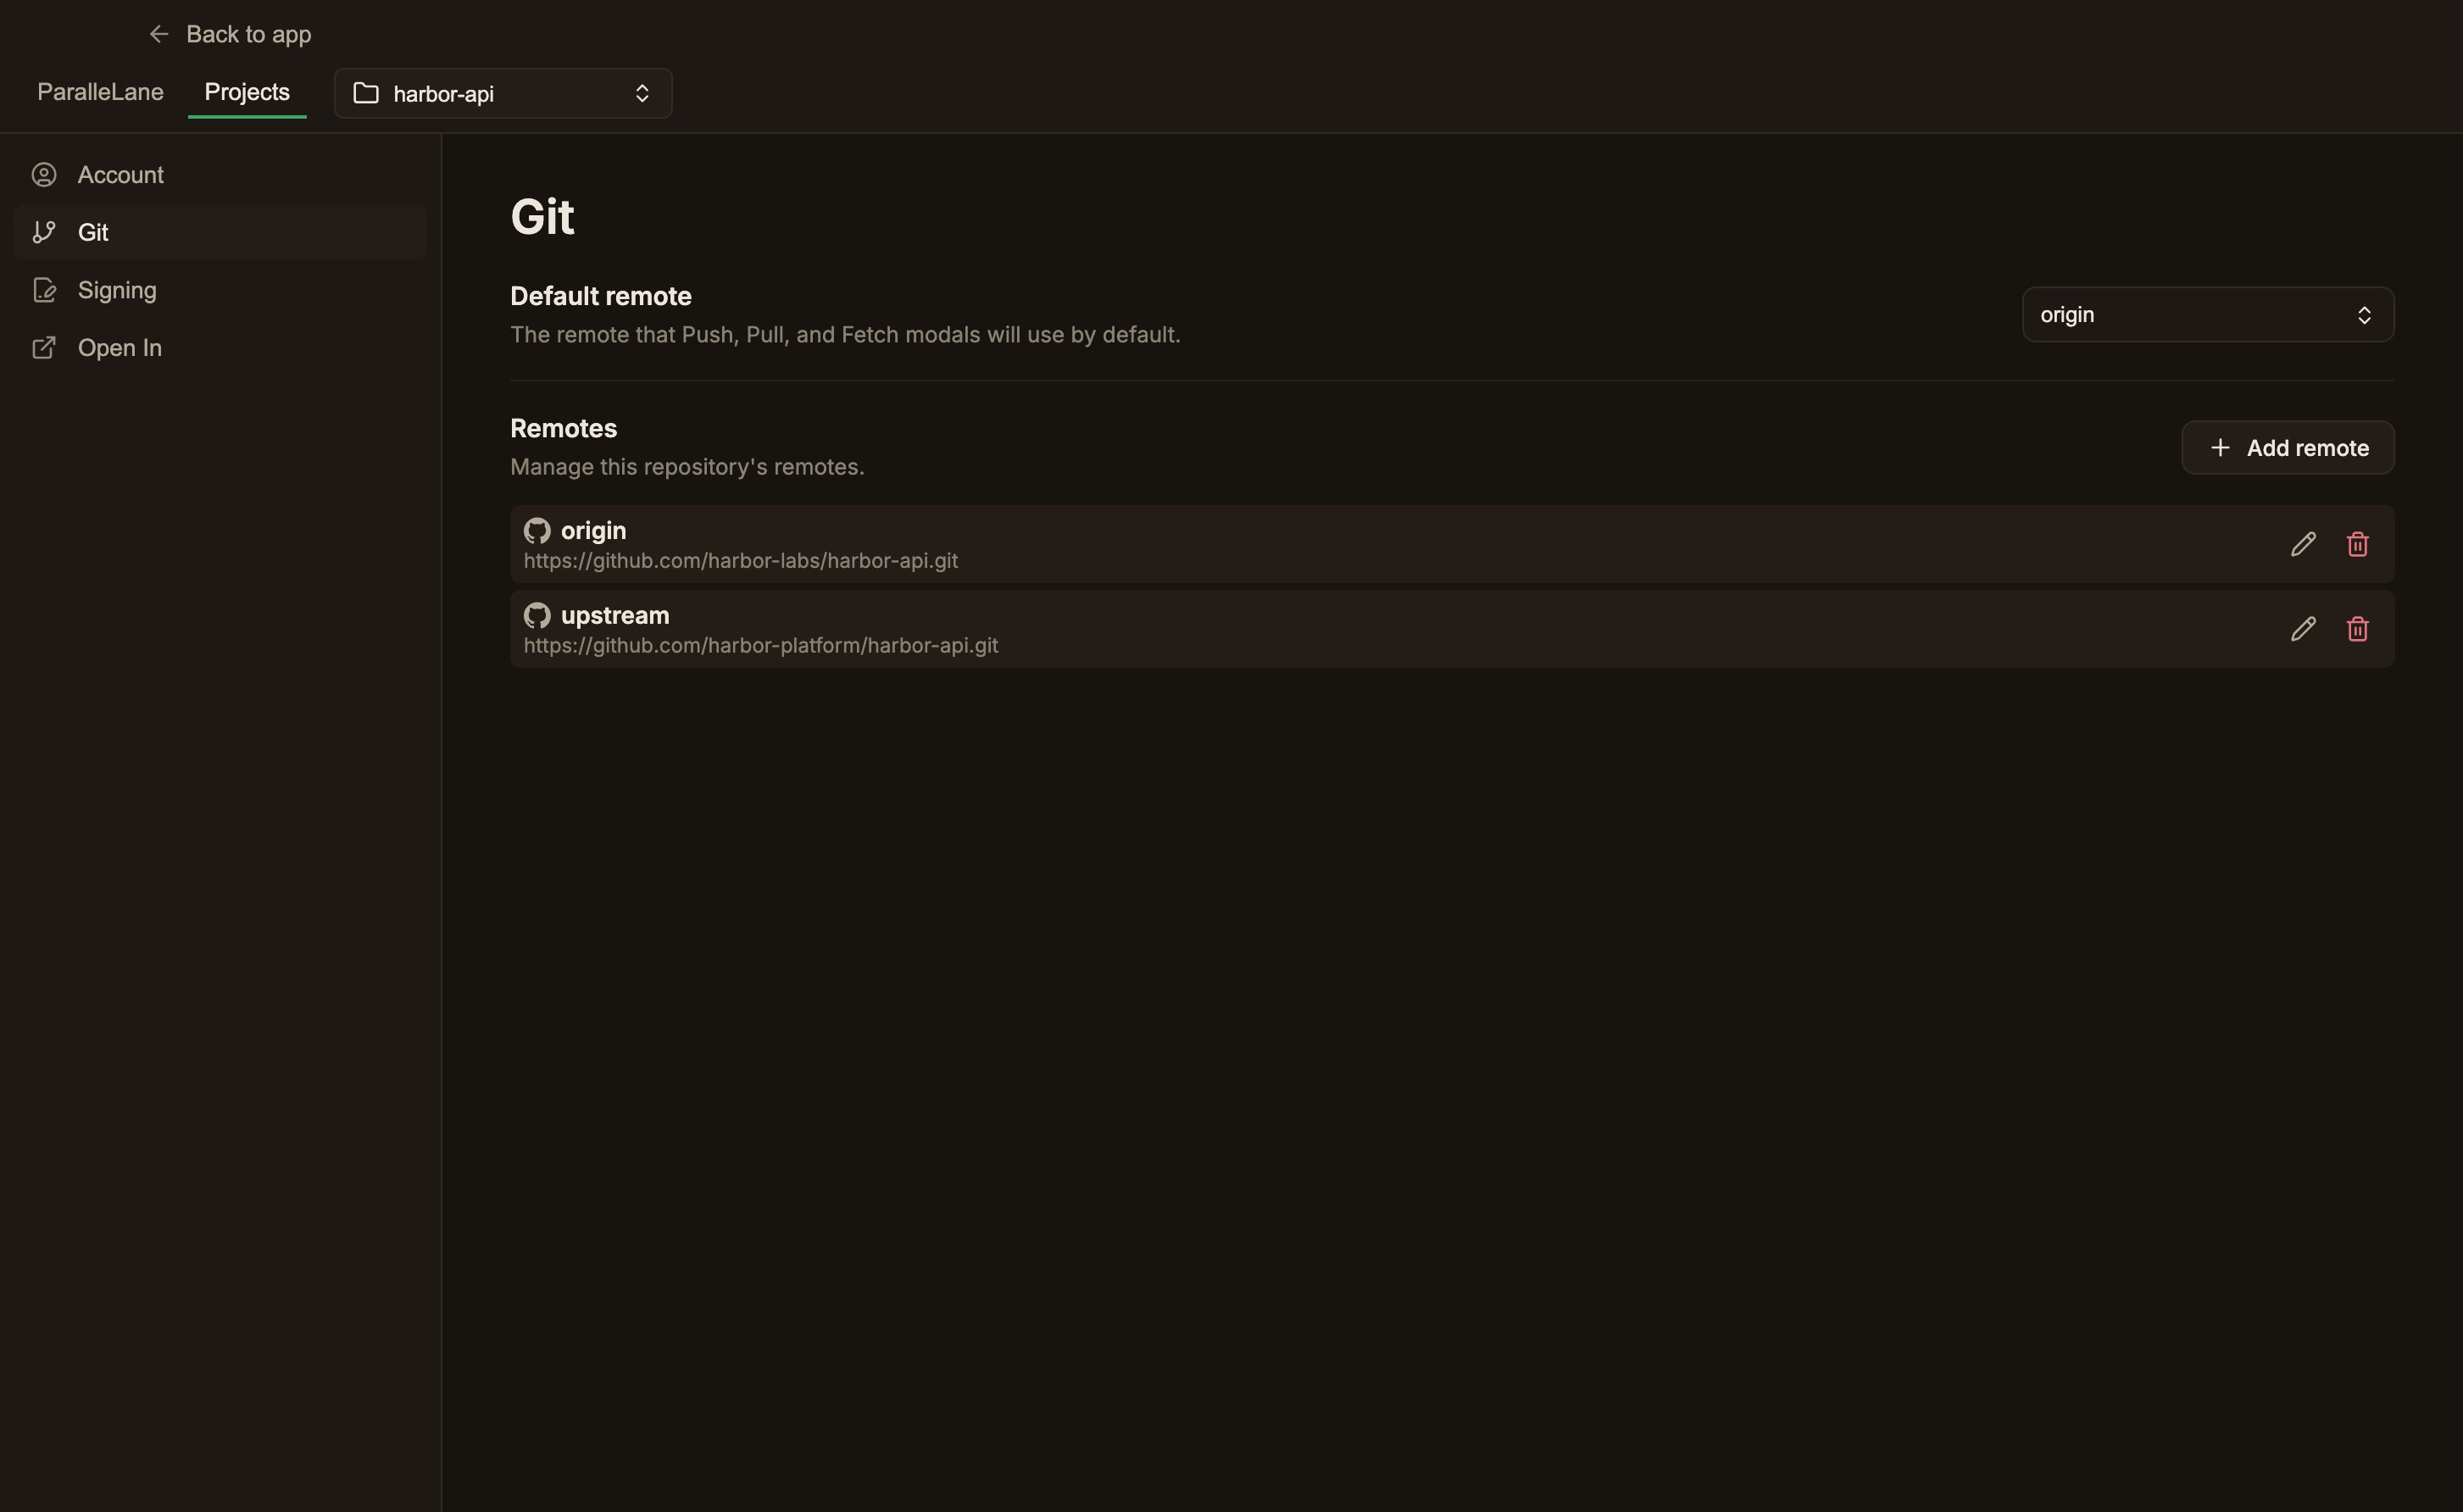
Adding a remote
Click Add remote in the Remotes section, enter a Name (for example,upstream) and a URL in the inline form, and click Save.
You can also pick an icon for it here, from the button to the left of the name field.
If the add succeeds, ParalleLane fetches that remote immediately, so branches appear right away, and URL typos or authentication issues surface at this point too.
There’s no cap on how many remotes a repository can have, on either plan.
Even if the fetch fails, the remote you added stays.
Check the URL or Accounts & authentication, then fetch again.The remote pickers read the repository’s configured remotes, so a newly added remote is selectable right away, even before its first successful fetch.
Editing a remote
Click the edit (pencil) button on the remote row, change the name, URL, or icon, and click Save. If you change several at once, it writes the URL and the icon first and changes the name last. If it fails partway through, the row keeps its old name and shows an inline error.Editing only touches the fetch URL.
Any push URL configured separately is left untouched.A remote registered with no URL at all can still be renamed or given an icon. The URL field is only required for remotes that had one.
Choosing an icon for a remote
Every remote carries an icon, and it’s what the ref chips in the commit graph draw to show where a branch lives. By default the icon is derived from the remote’s URL (GitHub, GitLab, and Bitbucket get their own mark and everything else gets a globe), which means two remotes on the same host look identical. Pick an icon to tell them apart.1
Open the picker
In the add or edit form, click the icon button to the left of the Name field.
2
Pick one
The picker holds 36 icons in three groups: Brands (GitHub, GitLab, Bitbucket, Gitea, Forgejo, Codeberg, SourceHut, Git), Infrastructure (globe, server, cloud, database, and so on), and Objects (box, rocket, star, key, flame, and so on).
Choosing one closes the picker; Save writes it.
3
Or go back to the default
Automatic (by host) at the top of the picker clears your choice and returns the remote to its host-derived icon.
git remote rename and disappears with git remote remove, including when you run those in a terminal.
It’s per repository and never pushed anywhere: the same remote URL can carry different icons in two clones.
Writing the icon is separate from adding or renaming the remote. An icon that fails to save doesn’t undo the rest.
You get an error notification and the remote row keeps whatever actually landed.
Deleting a remote
Click the delete (trash) button on the remote row and a confirm button appears below that row. Click Delete to confirm.Choosing the default remote
Default remote is the remote the Push, Pull, Fetch modals start on. Choose it from the dropdown at the top of the panel; it’s stored in the repository as git’sremote.pushDefault.
Each modal resolves its starting remote with the rule git itself uses for that operation, and this setting is one step in that chain.
Push looks at
branch.<branch>.pushRemote first so a triangular workflow keeps working: you pull from upstream and push to your own fork.
Pull and Fetch put the tracking remote first, the same as running git pull or git fetch with no arguments.
If nothing in the chain resolves to a remote that still exists, the first remote in the list is used.
With
origin as your only remote, there’s nothing to set here.
If you rename the designated remote, the designation follows; if you delete it, the designation is cleared.