First launch: onboarding
The first time you launch the app, an onboarding wizard appears to create an account. It moves through Welcome → Plan → Provider → Credentials & identity → Clone location → Done, and connecting a provider (or picking an SSH key) is required.1
Start creating an account
Click Get started.
The left rail shows the progress steps, and you can click a completed step again to edit it.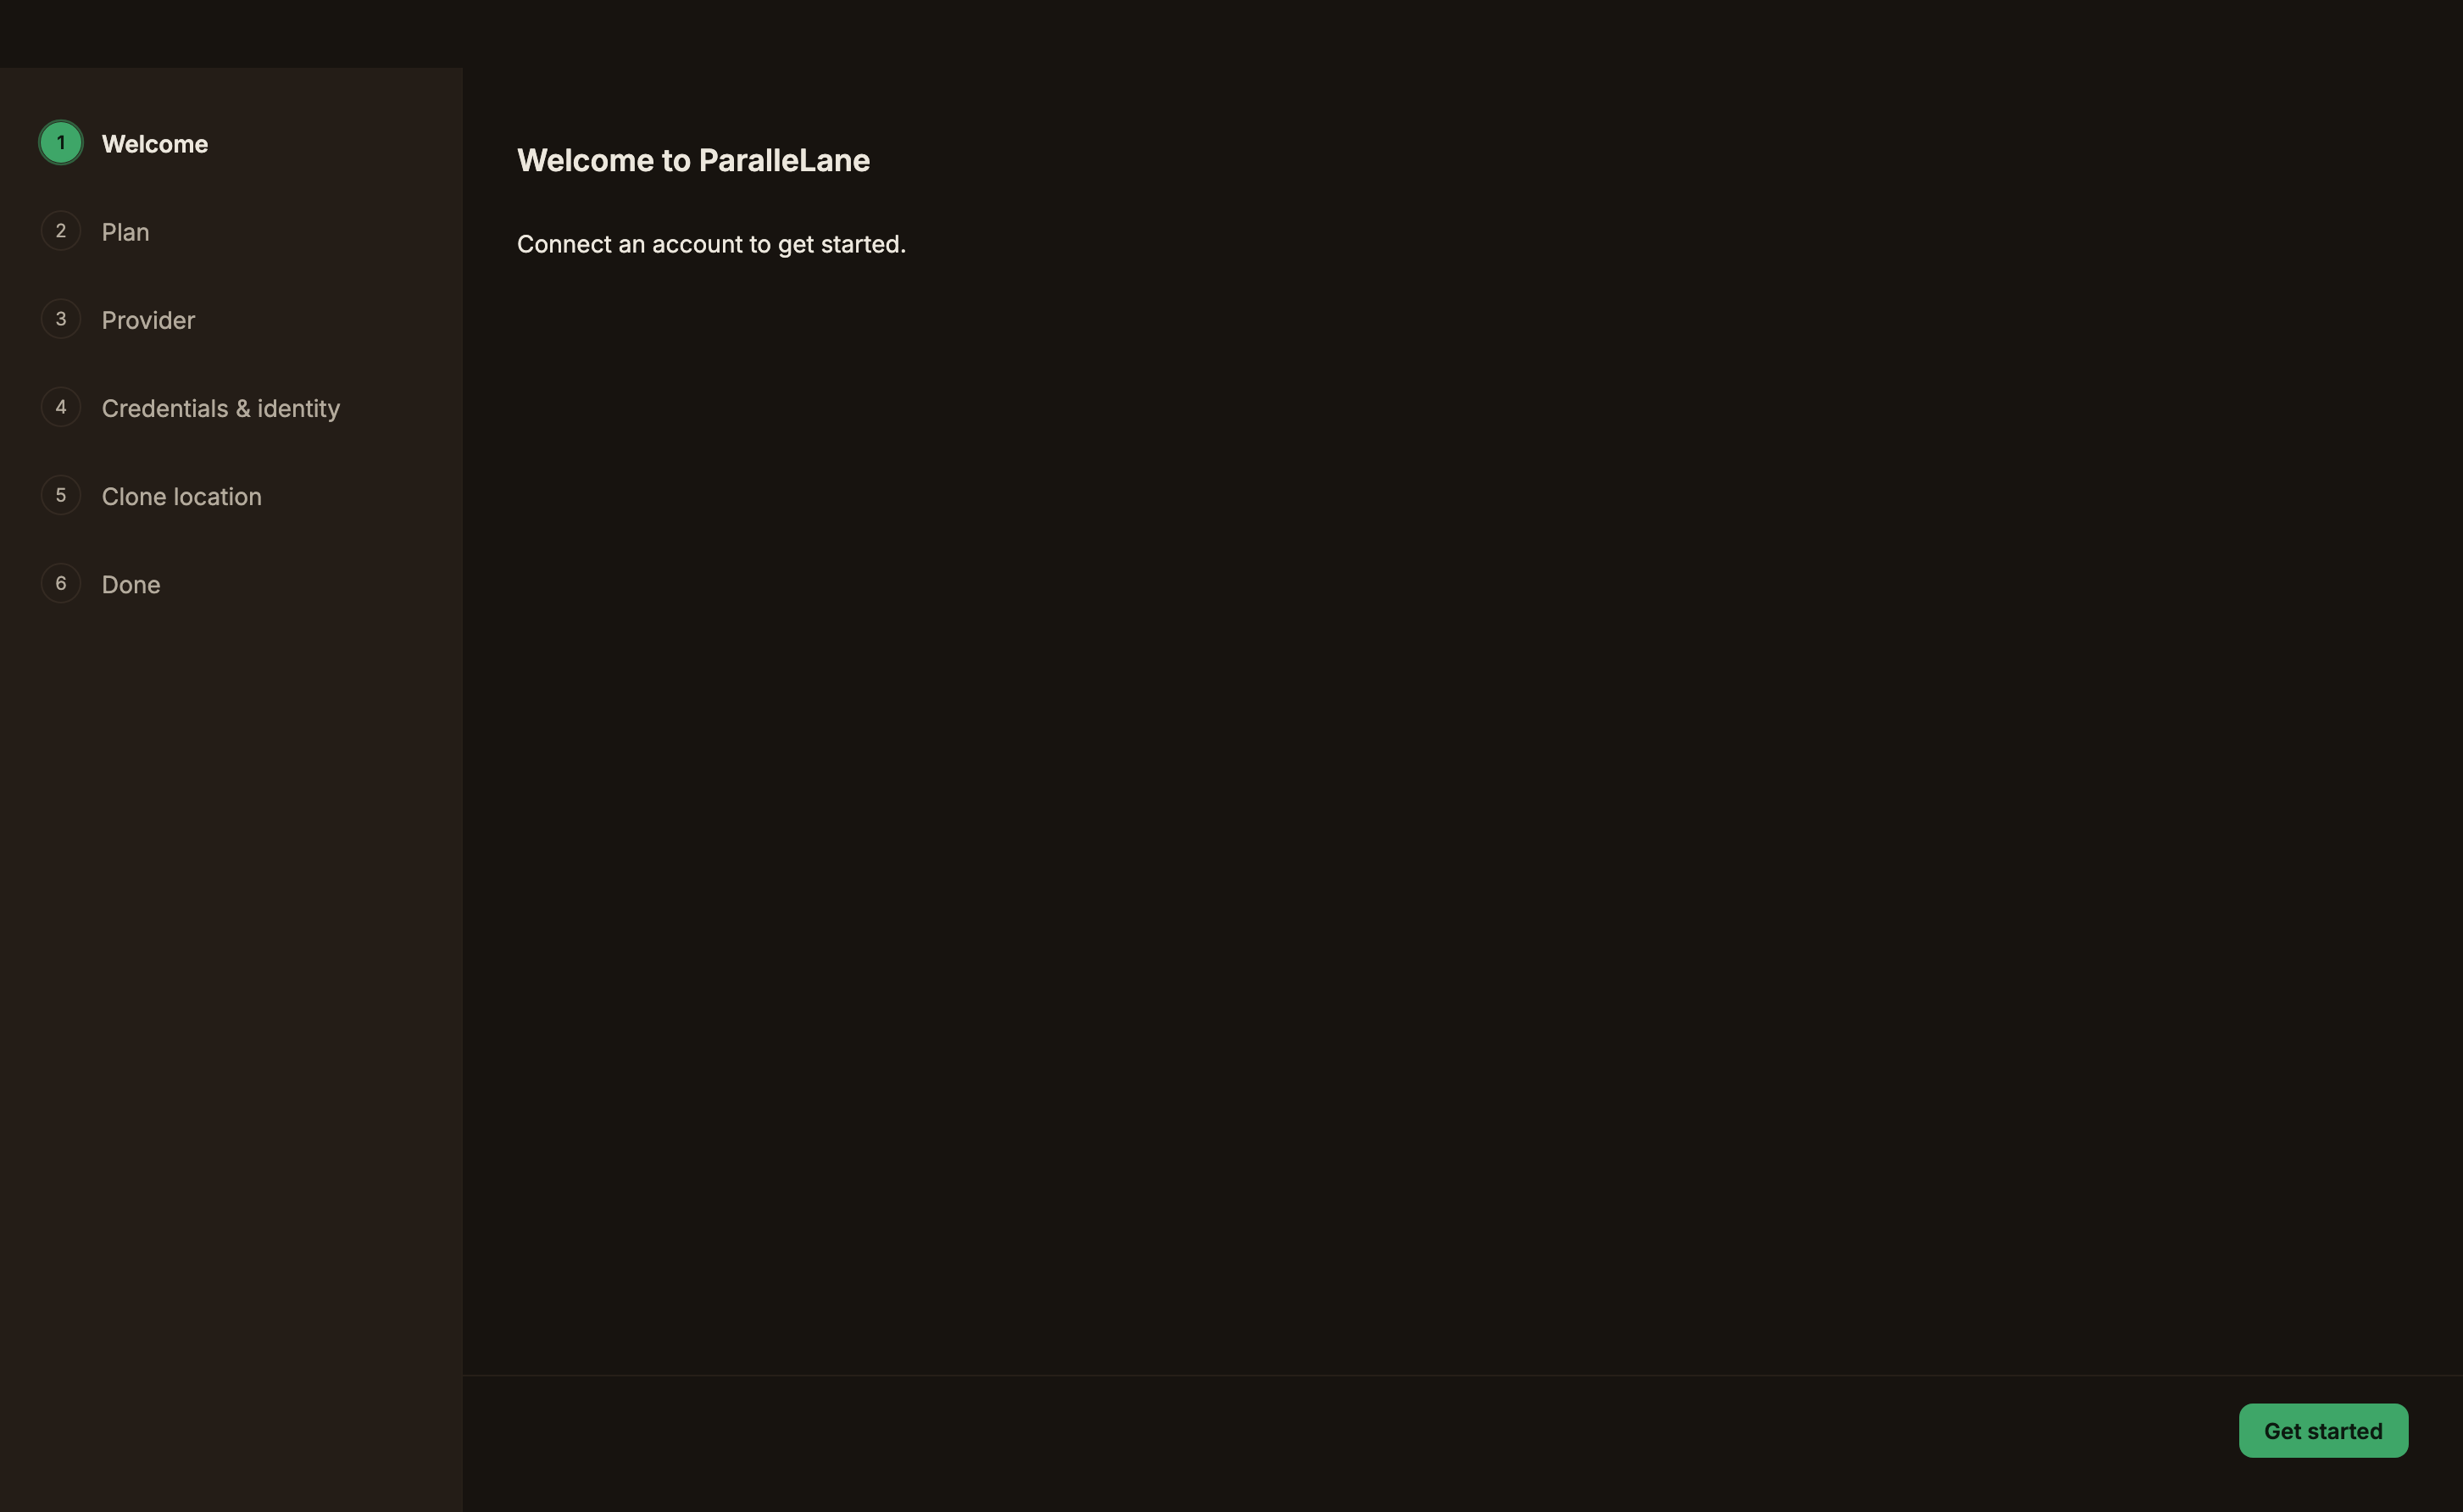
2
Check the plans
A screen comparing Basic and Pro appears, and if you already have a license key, you can activate it right here.
The choice isn’t required, so click Next to skip it and start with the free Basic plan.
The differences between the 2 plans are summarized below in Plans.
3
Choose a provider
Pick from GitHub, GitLab, Bitbucket, and each of their server variants (Enterprise/Server), or SSH.
Your choice determines the input form for the next step.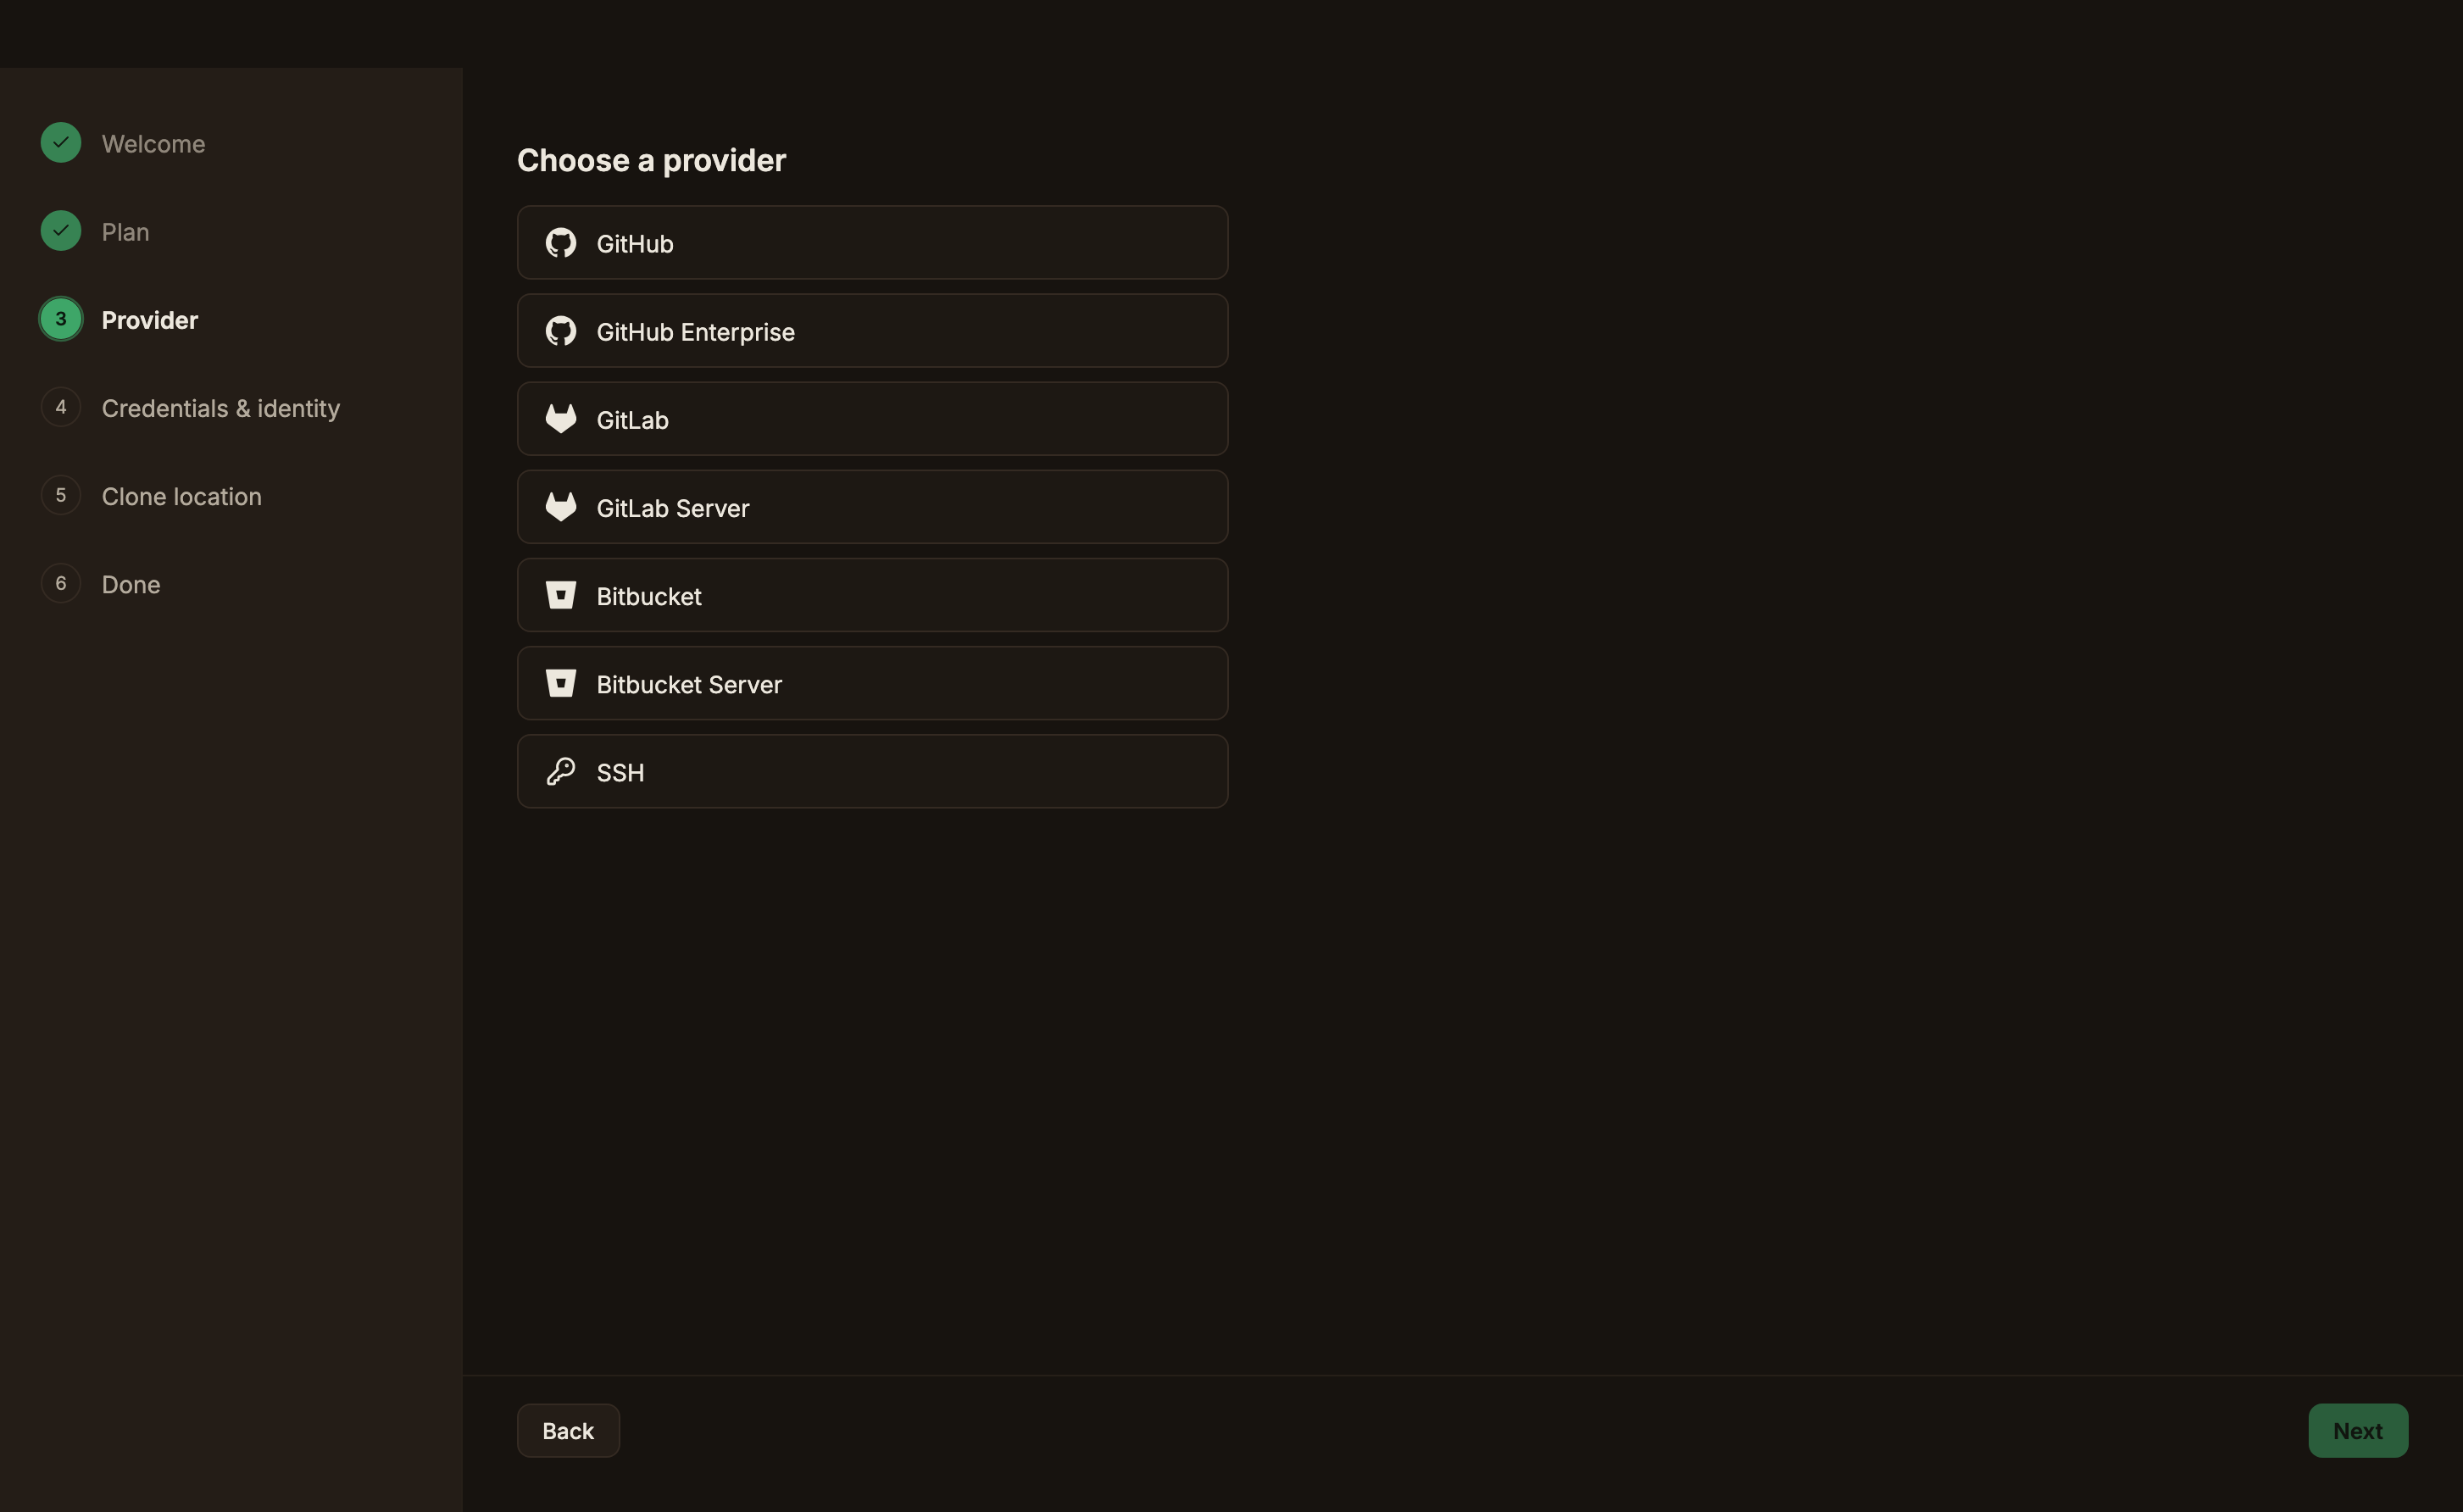
PRO only. Self-hosted entries such as GitHub Enterprise, GitLab Server, and Bitbucket Server appear disabled on Basic and carry the PRO badge.
4
Enter your credentials and identity
The Label (optional) field at the top names the account for your own reference; leave it blank and the git name is shown instead.
- For GitHub sign-in, click Sign in with GitHub and an authentication code appears. Click Authorize on GitHub to open a browser, enter the code, and approve it, and the app receives the sign-in result and fills in your name and email.
- For a token, switch the authentication type to Personal Access Token (App Password for Bitbucket), paste the token, and click Validate. A Required scopes (minimum) list and a link to the token creation page appear on the right.
- For SSH, pick an existing SSH key and enter your name and email.
If the build you downloaded doesn’t support GitHub sign-in, the authentication type falls back to token entry.
In that case, continue with a personal access token.
5
Set the clone location
Specify the Default clone folder where remote repositories are cloned.
You can change it anytime in Settings → ParalleLane → General, so it’s fine to leave it blank.
6
Finish setup
On the done screen, review the account details and click Start ParalleLane to enter the main screen.
This account becomes the default account.
If you quit before finishing, onboarding comes back on the next launch.
When the credentials step had already created an account, it’s picked up and the Provider and Credentials & identity steps are skipped. Plan goes straight to Clone location, and the done screen says This account is already set up.
To add a different account instead, click Provider in the left rail; picking one there brings the credentials step back.
Plans
There are 2 plans: the free Basic and the one-time-purchase Pro. If you don’t pick one during onboarding, you start on Basic, and you can later check your current plan and activate a license in Settings → ParalleLane → Plan.
Pro-only features carry a PRO badge in the app and appear disabled on Basic.
If you have a license key, enter it in the License key field on the Plan screen and click Activate.
Adding repositories
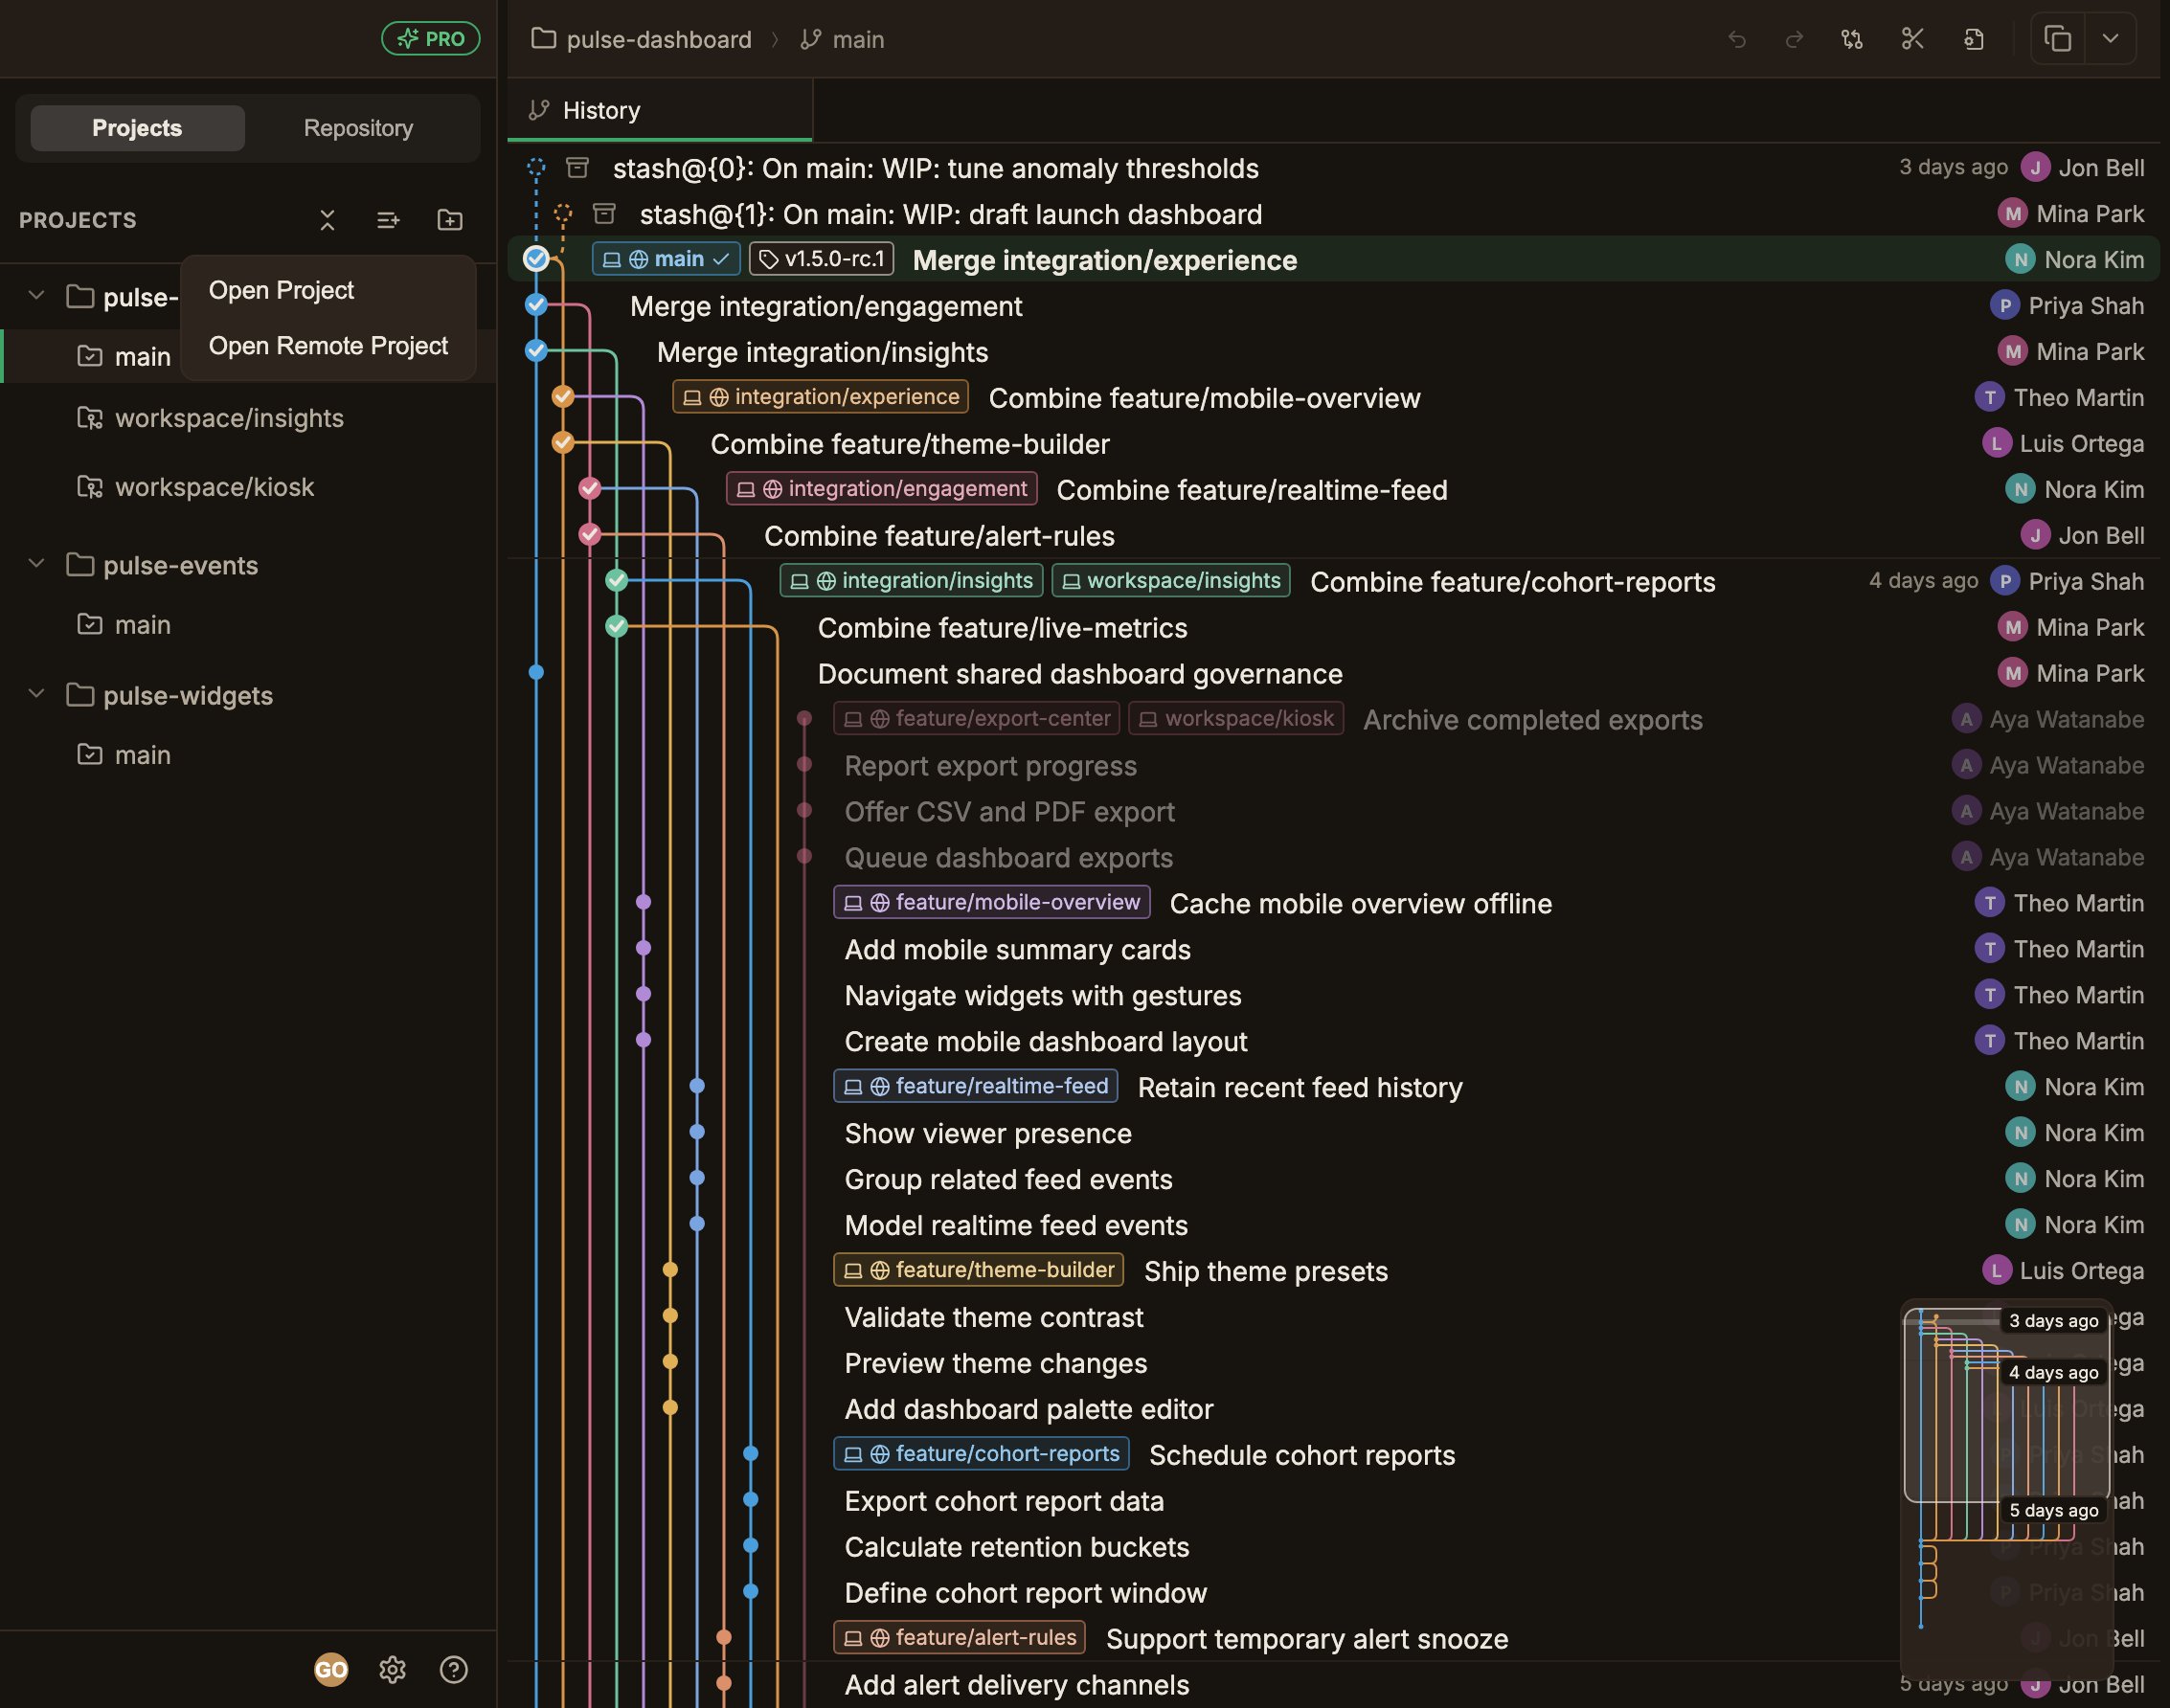
1
Auto-discover with a source folder scan
Register the folder where you keep your repositories in Source code folders under Settings → ParalleLane → General, and Git repositories one level below it are registered automatically.
It rescans every time you launch the app, and you can also scan immediately with Rescan.
Add any folder you want to exclude to Excluded folders on the same screen.
2
Open a folder directly
Open a local repository folder from Add repository → Open Project in the left Projects tab header.
3
Clone a remote repository
Clone using Open Remote Project in the same menu, then pick a repository accessible from your account or paste a URL.
The clone location is the default clone folder.
Reading the graph and making your first commit
1
Select the repository and worktree
Expand a repository in the left Projects tab and select a worktree, and the commit graph draws in the center.
Interface tour covers what each area does.
2
Check your changes
The Working copy card at the top of the right sidebar shows N changed / N conflicts / No changes.
Click the card and the file list and diff open.
3
Stage and commit
Stage a file, write a Summary, and click Commit, and the new commit appears at the top of the graph.